
|
Do it yourself
| |||
| ||||


Model: Aprilia Rs 660
The instructions in this guide will show us how to disassemble and replace the brake and clutch levers of the Aprilia RS 660 motorcycle. First, we put the motorcycle on the stand and start unscrewing the front brake lever screw with a socket wrench, in order to remove it; in the same way, we will also disassemble the clutch lever, as shown in the video. At this point, we install the brake lever and then adjust the lever stroke; we then adjust the clutch lever with the appropriate adjuster, following the video tutorial until the end!
Posted on 31 March 2024 by ScegliAuto
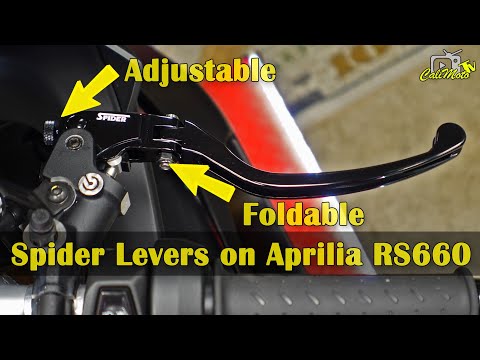 How to replace the brake and clutch levers of the Aprilia RS 660
Rs 660 Let's briefly see the steps that will allow us to disassemble and replace the front brake and clutch levers of the Aprilia RS 660 motorcycle. First, 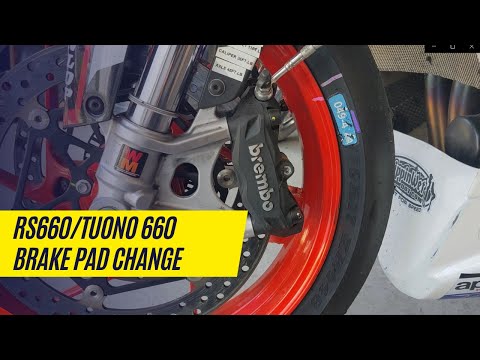 How do you replace the front brake pads on the Aprilia RS 660?
Rs 660 The replacement of the front brake pads on the Aprilia RS 660 is done by loosening the screws that fix the brake caliper to the corresponding front w 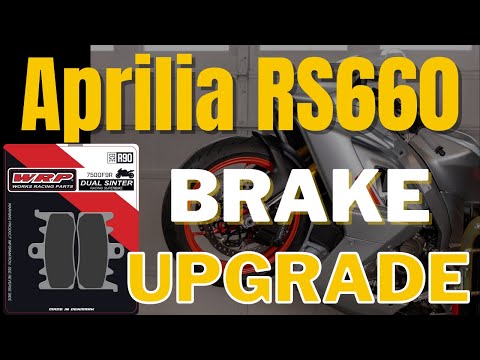 How to replace the front brake pads of the Aprilia RS 660?
Rs 660 In order to replace the front brake pads of the Aprilia RS 660 it is necessary to loosen the screws that secure the brake caliper to the relative fro |
How do you replace the headlight bulb of the Triumph Daytona 675R?
In order to replace the headlight bulb of the Triumph Daytona 675R, you need to loosen the screws that secure the appropriate protective panels inside the bulbs: these will be immediately below the handlebars, on the sides of the front fork. Once these covering panels have been removed, it will be possible to disconnect the connector connected to the bulb, removing it from its housing; at this point, it will be possible to connect the new bulb to the connector, inserting it into the headlight and verifying that everything works correctly. by ScegliAuto More videos
|
|
For advertising on this site Write to info@scegliauto.com
ScegliAuto is not responsible for any inaccuracy of the data in the lists. To report any inaccuracy or your business (if you own the business in question), please write to info@scegliauto.com
Number of seconds to generate the page: 0.025
(c) ScegliAuto 2024 - info@scegliauto.com - Privacy Policy VAT number: IT01247470535 |