
|
Do it yourself
| |||
| ||||


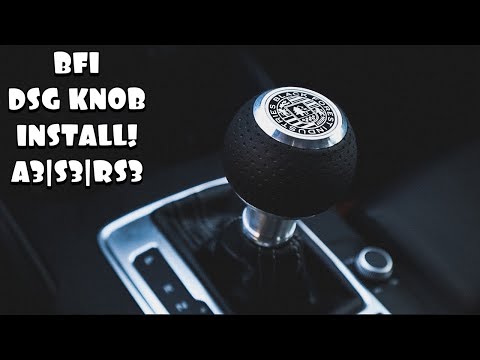
Audi A3 - Video tutorial
Model: Audi A3
MK 2, 8P
- Years 2003-2013 Disassembling the gear lever knob of the Audi A3 automatic transmission is a very simple operation. First, we need to remove the frame that holds the knob and the gear lever by using a plastic lever. Once the knob is removed, we can disconnect the wires and various connectors of the automatic transmission and then disassemble the end of the lever by turning it upside down. If you have difficulty removing the mechanism, you can heat it with a hot air gun. At this point, all that remains is to rotate the knob to remove it from its seat. We remove the leather cover with the help of a lever and insert the new one. We insert the mechanism inside and then the knob, as shown in the video. Finally, we assemble everything with the cover and reinstall the transmission.
Posted on 21 November 2023 by ScegliAuto
 Removing the knob of the Audi A3 automatic gearshift lever
Audi A3 (2012-2019 / 8V, MK 3) Let's find out in this guide how to remove and replace the knob of the automatic gearshift lever of the Audi A3, but also the other models of the man 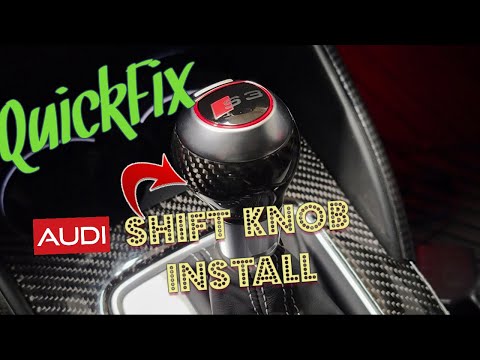 How to replace the Audi A3 gear knob
Audi A3 (2012-2019 / 8V, MK 3) The gear lever knob of your Audi A3 is one of the most frequently used and therefore most subject to wear and tear components. For this reason it may  How to replace the gear knob of an Audi A3?
Audi A3 (2012-2019 / 8V, MK 3) To replace the gear knob of an Audi A3, start by lifting the gear lever boot. Gently pull the boot upwards to detach it from the central console, bei Other guides that may interest you |
How do I replace the Land Rover Evoque auxiliary battery?
In order to replace the auxiliary battery of the Land Rover Evoque, it is necessary to go inside the passenger compartment and remove the panel which is positioned immediately under the glovebox. Once the screws that secure this panel have been loosened, it will be possible to access the components located in its rear part, including the auxiliary battery. The latter must be disconnected from its cables and the fixing screws must be loosened. The battery can then be replaced with a new one and the panel can be fixed again with its screws. by ScegliAuto More videos
|
|
For advertising on this site Write to info@scegliauto.com
ScegliAuto is not responsible for any inaccuracy of the data in the lists. To report any inaccuracy or your business (if you own the business in question), please write to info@scegliauto.com
Number of seconds to generate the page: 0.030
(c) ScegliAuto 2024 - info@scegliauto.com - Privacy Policy VAT number: IT01247470535 |