
|
Do it yourself
| |||
| ||||


Model: Suzuki Gsxr 750
In this tutorial, we can see how to replace the headlight bulb in the Suzuki GSX-R 750, an extremely simple and quick operation. First of all, make sure the key is not inserted, so you can work safely, then remove the instrument panel by unscrewing the single fixing screw. Next, disconnect the power connector, remove the large rubber cap, and release the metal clip indicated. At this point, we can remove the old bulb, insert the replacement without touching the glass with bare hands, and reassemble everything following the reverse procedure.
Posted on 11 May 2024 by ScegliAuto
 Replace the headlight bulb on the Suzuki GSX-R 600-750
Gsxr 750 In this video we will see how to remove and replace the headlight bulb on a Suzuki GSX-R 600, but also on the 750. First we put the steering in a str 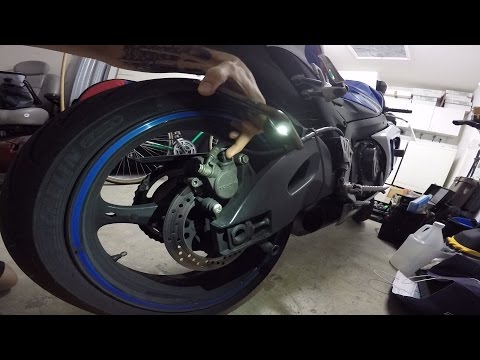 Replacement rear brake pads Suzuki Gsx-r 750
Gsxr 750 .. and replace the rear brake pads of a Suzuki Gsx-R 750. To do this, first of all, place the bike on the stand and first unscrew the fixing screws of the.. 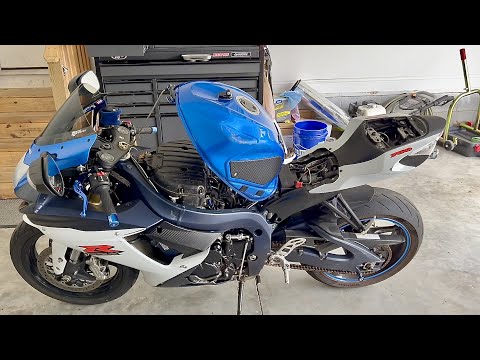 How do you replace the air filter on the Suzuki GSX-R 750?
Gsxr 750 .. of replacing the air filter on the Suzuki GSX-R 750 involves loosening the screws that secure the motorcycle seat to its housing, so that it can be.. |
How to remove the stator of the Peugeot Speedfight 2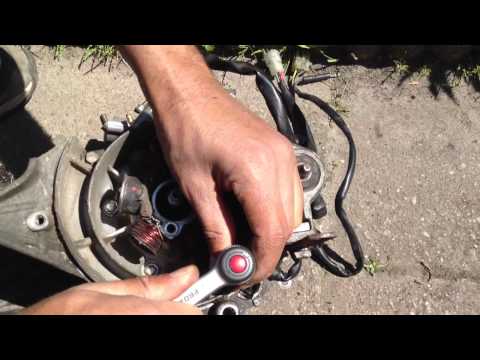
Today we will see, in this video tutorial, how to disassemble and replace the stator of the Peugeot Speedfight 2 scooter, following these simple steps. In this case, the disassembly operation is carried out with the engine removed from the bodywork; then, once the rotor has been removed, we can go and unscrew the fixing screws of the stator, in order to remove it from the engine casing together with the electrical wiring, as shown in the video. At this point we are going to replace the component with the new one, with the original spare part; we install the stator in the correct direction, finally adjusting the advance. by ScegliAuto More videos
|
|
For advertising on this site Write to info@scegliauto.com
ScegliAuto is not responsible for any inaccuracy of the data in the lists. To report any inaccuracy or your business (if you own the business in question), please write to info@scegliauto.com
Number of seconds to generate the page: 0.034
(c) ScegliAuto 2024 - info@scegliauto.com - Privacy Policy VAT number: IT01247470535 |