
|
Do it yourself
| |||
| ||||


Toyota Aygo - Video tutorial
Model: Toyota Aygo
MK 1, Ab10
- Years 2005-2014 Let's see how to proceed to replace the spark plugs of the Toyota Aygo Mk1. We open the engine hood, release the clamp of the ventilation tube and, with a special pliers, the one of the outlet tube of the filter box, we open the clips and remove the box. We cover the air intake with a cloth, disconnect the three connectors of the coils, spray a release agent and unscrew the bolts of the coils with a 10mm wrench and remove them. We clean the seats with a jet of air, with a 16mm socket wrench we loosen the spark plugs and remove them from the well with a magnet. We take the new spark plugs, spread anti-seize grease on the threads and terminals, insert them into the wells, screw them in by hand first and then fix them with a torque wrench at 25Nm. We reassemble the other components in the reverse order of disassembly.
Posted on 3 March 2024 by ScegliAuto
 How to remove the Toyota Aygo spark plugs
Toyota Aygo (2005-2014 / MK 1, Ab10) How to remove the Toyota Aygo spark plugs? Let's see in this video in detail how to proceed: pull the engine compartment opening lever located at the 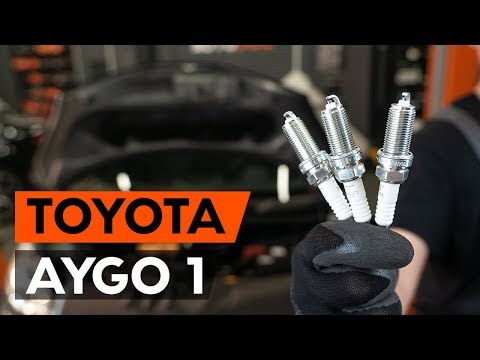 How to replace spark plugs on Toyota Aygo
Toyota Aygo (2005-2014 / MK 1, Ab10) In this video tutorial we can see how to replace the Toyota Aygo spark plugs. The first thing to do is lift the bonnet and secure it with the appropr 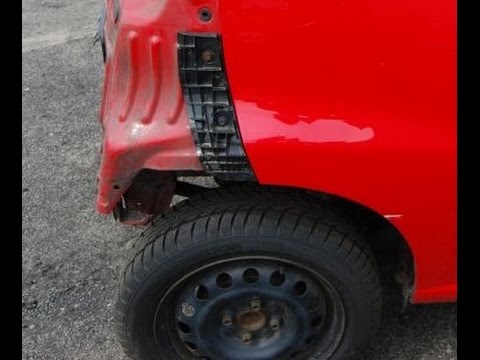 How to remove the rear bumper of a Toyota Aygo?
Toyota Aygo (2005-2014 / MK 1, Ab10) Good morning, today's goal is to remove the rear bumper of our Toyota Aygo. Let's start by lifting the car with the jack. Then, we will need to caref Other guides that may interest you
|
How do I replace the Land Rover Evoque auxiliary battery?
In order to replace the auxiliary battery of the Land Rover Evoque, it is necessary to go inside the passenger compartment and remove the panel which is positioned immediately under the glovebox. Once the screws that secure this panel have been loosened, it will be possible to access the components located in its rear part, including the auxiliary battery. The latter must be disconnected from its cables and the fixing screws must be loosened. The battery can then be replaced with a new one and the panel can be fixed again with its screws. by ScegliAuto More videos
|
|
For advertising on this site Write to info@scegliauto.com
ScegliAuto is not responsible for any inaccuracy of the data in the lists. To report any inaccuracy or your business (if you own the business in question), please write to info@scegliauto.com
Number of seconds to generate the page: 0.041
(c) ScegliAuto 2024 - info@scegliauto.com - Privacy Policy VAT number: IT01247470535 |