
|
Do it yourself
| |||
| ||||


Toyota Rav 4 - Video tutorial
Model: Toyota Rav 4
MK 4, Xa40
- Years 2013-2018 To remove the glove box from a Toyota RAV4 SUV, you can follow these general steps. Open the glove box drawer completely. Look for the clips or pins that hold the drawer to the dashboard. Press or move the clips to release the drawer from the dashboard. Gently pull the drawer towards you to remove it. It is recommended to use a suitable tool, such as a plastic lever, to avoid scratching or damaging the plastics. If the glove box drawer malfunctions or if you need to remove it to access the dashboard from the lower area, these steps will help you.
Posted on 3 May 2024 by ScegliAuto
 How to disassemble the glove compartment and the pollen filter of the Toyota RAV4
Toyota Rav 4 (2013-2018 / MK 4, Xa40) The following instructions will show us the steps to disassemble and replace the glove box and pollen filter of the Toyota RAV4. First, we get into t 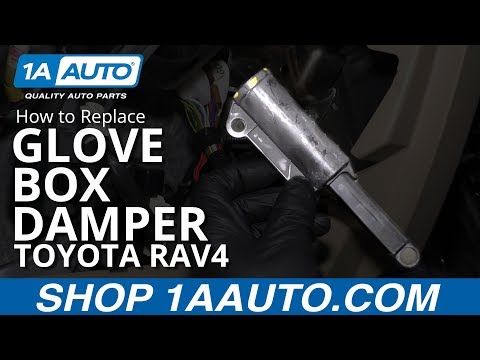 How to replace the glove box damper of the Toyota RAV4.
Toyota Rav 4 (2006-2013 / MK 3, Xa30) Today's guide will show us the main steps that will allow us to disassemble and replace the glove box damper of the Toyota RAV 4. First, we get into 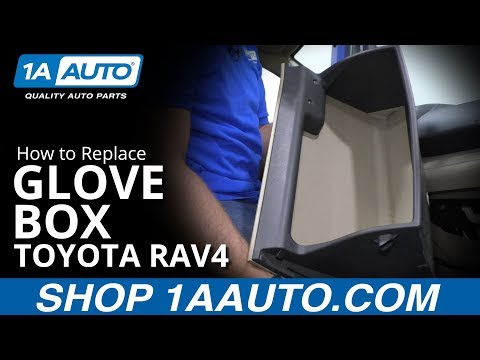 How to remove the glove box drawer in Toyota RAV4?
Toyota Rav 4 (2013-2018 / MK 4, Xa40) In the event that the glove compartment drawer of the Toyota RAV4 fails, or we need to remove it to access the dashboard from the lower area, we can Other guides that may interest you
|
How do I replace the Land Rover Evoque auxiliary battery?
In order to replace the auxiliary battery of the Land Rover Evoque, it is necessary to go inside the passenger compartment and remove the panel which is positioned immediately under the glovebox. Once the screws that secure this panel have been loosened, it will be possible to access the components located in its rear part, including the auxiliary battery. The latter must be disconnected from its cables and the fixing screws must be loosened. The battery can then be replaced with a new one and the panel can be fixed again with its screws. by ScegliAuto More videos
|
|
For advertising on this site Write to info@scegliauto.com
ScegliAuto is not responsible for any inaccuracy of the data in the lists. To report any inaccuracy or your business (if you own the business in question), please write to info@scegliauto.com
Number of seconds to generate the page: 0.039
(c) ScegliAuto 2024 - info@scegliauto.com - Privacy Policy VAT number: IT01247470535 |