
|
Do it yourself
| |||
| ||||


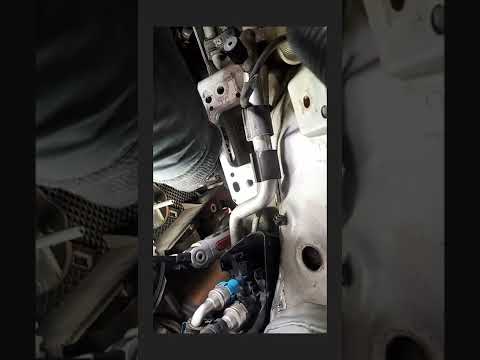
Removal of the protection of active components on Audi-Volkswagen vehicles
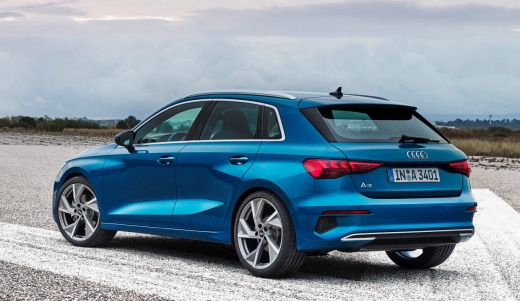
Model: Audi A3
8Y, MK 4
- Years 2020-2026
In this video, a particularity of V.A.G group cars is explained to us, which have one or more protected control units for cyber security reasons. The company Texa has developed a functionality integrated into the IDC5 software and available with the TEXPACK subscription, which allows complete access to the protected control units of the entire group, allowing them to be unlocked for a complete diagnosis, and identifying and resolving any faults or malfunctions. The unlocking procedure is automated and takes only a few minutes, and the company constantly updates the software to ensure compatibility with new car models.
Posted on 7 January 2025 by ScegliAuto
Video tutorial
Related tutorials
Audi A3
(2003-2013 /
MK 2, 8P)
In this video, we can see that it is possible to replace one of the usual fuel filler caps found on an Audi A3 8P with a quick refueling cap. To be c…

Audi A3
(2012-2019 /
MK 3, 8V)
In the following mini guide aimed at all of you who own a 2014 Audi A3, we will describe all the steps you need to take in order to locate the fuse b…
Audi A3
(2020-2026 /
8Y, MK 4)
In today's video, we will see how to replace the timing belt in the 1.6 TDI engine of the Audi A3. We can either remove the front bumper or lower the…
Other guides you may be interested in
|
Frequently Asked QuestionsHow to Replace the Front Headlight on a Peugeot 308
As the first operation, you will need to release the bonnet using the designated lever to lift and secure it with the prop rod. This gives you access to the rear of the headlight. Before working in this area, disconnect the battery cables to protect any sensitive circuits. Returning to the back of the headlight, remove the protective cover that shields the connector powering the bulb. Disconnect it and extract the faulty bulb. Retrace the steps described for reassembling the various components. by ScegliAuto More videos
|
|
For advertising on this site Write to info@scegliauto.com
ScegliAuto is not responsible for any inaccuracy of the data in the lists. To report any inaccuracy or your business (if you own the business in question), please write to info@scegliauto.com
Number of seconds to generate the page: 0.064
(c) ScegliAuto 2026 - info@scegliauto.com - Privacy policy VAT number: IT01247470535 |