
|
Do it yourself
| |||
| ||||


Changing the Cabin Air Filter of the Suzuki Splash
Model: Suzuki Splash
MK 1
- Years 2008-2015
In this video tutorial, we will see how to remove and replace the cabin air filter of the Suzuki Splash, following these simple and quick steps. First, get inside the vehicle and open the glove compartment; unclip the two side arms to remove it, as shown in the video. Next, remove the plastic cover of the pollen filter box; take out the filter and replace it with a new one of the correct type, inserting it in the correct orientation (usually indicated by printed arrows on the filter). Then reassemble everything!
Updated on 14 June 2026 by ScegliAuto
Video tutorial
Related tutorials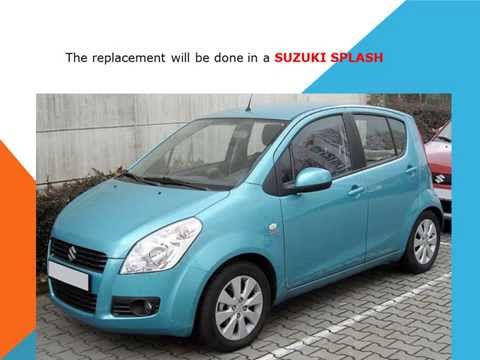
Suzuki Splash
(2008-2015 /
MK 1)
Learn how to remove the air filter located inside the dashboard of the Suzuki Splash. Open the glove compartment and detach the end stop arms of the …
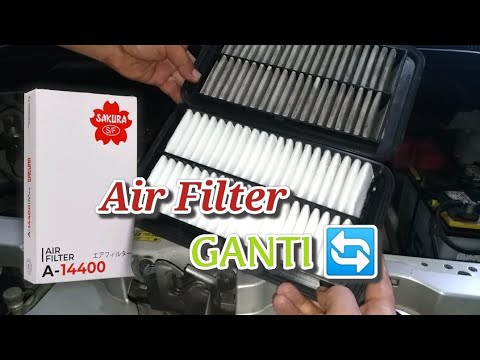
Suzuki Splash
(2008-2015 /
MK 1)
To replace the air filter on a Suzuki Splash, open the bonnet to access the components inside the engine bay. The air filter is located inside its bo…
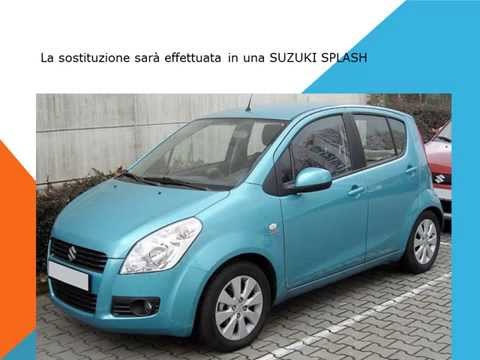
Suzuki Splash
(2008-2015 /
MK 1)
The cabin air filter is located on the passenger side, just behind the glove compartment: to access the air duct housing, open the compartment door a…
Other guides you may be interested in
|
How to Open a Stuck Boot on the Peugeot 407?
On the Peugeot 407, the boot may become stuck, possibly due to a problem with the control button or the lock actuator. In such cases, you can perform an emergency opening by following the simple procedure shown in this tutorial. First, open the rear doors, then lower the seat back by operating the release lever. Next, go inside the boot, locate the lock, and manually operate it using a flathead screwdriver. The boot will then be free to open. by ScegliAuto More videos
|
|
For advertising on this site Write to info@scegliauto.com
ScegliAuto is not responsible for any inaccuracy of the data in the lists. To report any inaccuracy or your business (if you own the business in question), please write to info@scegliauto.com
Number of seconds to generate the page: 0.311
(c) ScegliAuto 2026 - info@scegliauto.com - Privacy policy VAT number: IT01247470535 |
