
|
Fă-o singur
| |||
| ||||


Demontarea radio-ului auto și a diferitelor piese din bord și instalarea sistemului de navigație.
Model: BMW Seria 3
E46
- Ani 1998-2006
By using a medium-sized fixed screwdriver, release the dashboard molding. Unscrew the fixing screw of the side air conveyor and remove it. Remove the frame around the car radio and extract the radio itself. Then extract the air conditioning display by pulling it forward and releasing the connected plugs. Then remove the storage compartment. Unscrew the fixing screws of the radio and display support frame and remove it from its seat to subsequently accommodate the satellite navigator. Then release the central air conveyor, extract it and rest it on the dashboard. Now, with a very small fixed screwdriver, release the cover in the center of the windshield pillar trim: once removed, three screws are visible that must be unscrewed and it is possible to release the trim from the pillar and remove it from the edge of the dashboard with a lever. Release the courtesy light from the ceiling and pass the cables of the Bluetooth system microphone and GPS antenna so as to place the microphone in correspondence with the light and the antenna on the windshield, just at the exit of the pillar, and converge all the connection jacks inside the car radio compartment. Make all the connections following the electrical diagram provided and, properly fixing the wiring, place the navigator in its seat: the climatronic display must be positioned in place of the storage compartment. Then complete the reassembly of what was previously removed.
Introdus la 13 January 2016 by ScegliAuto
Tutorial video
Tutoriale conexe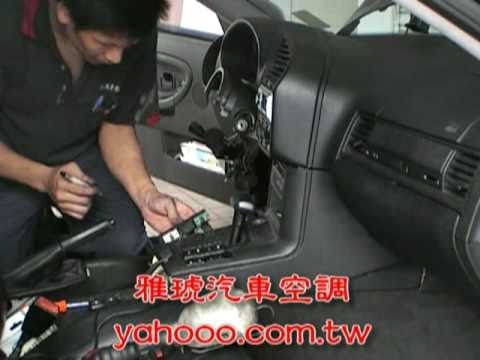
BMW Seria 3
(1990-2001 /
E36)
Pentru a accesa radiatorul de aer condiționat, trebuie să începeți prin a demonta grila de admisie de sub parbrizul din compartimentul motor și să sc…
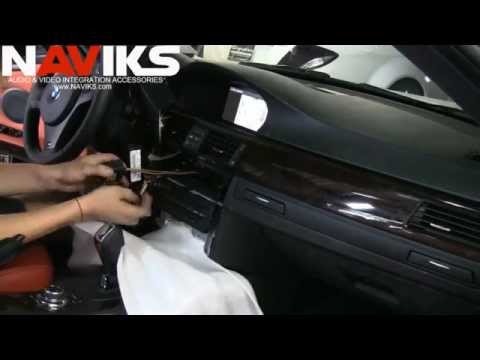
BMW Seria 3
(2005-2013 /
E91, E90, E92)
Folosind o unealtă de plastic pentru a nu deteriora caroseria, faceți levier pe grila de aer și pe bordul din rășină pentru a o ridica. Îndepărtați p…

BMW Seria 3
(1998-2006 /
E46)
Deschideți sertarul pentru obiecte și desfaceți șuruburile de-a lungul marginilor interioare pentru a-l îndepărta din suport, deconectând prizele pen…
Alte ghiduri care te-ar putea interesa |
Cum se resetează indicatorul de presiune a pneurilor la Suzuki Jimny?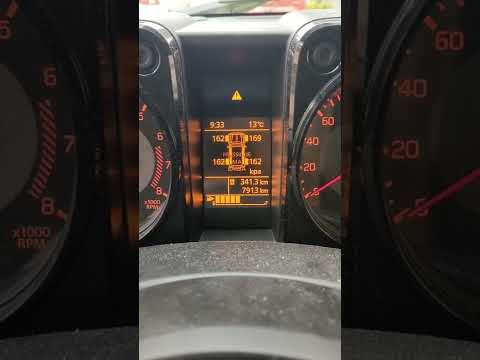
Pentru a reseta indicatorul de presiune a pneurilor la Suzuki Jimny, trebuie mai întâi să umflați pneurile, aducându-le la valoarea de presiune indicată pe autocolantul corespunzător: acesta se găsește în partea de jos a stâlpului ușii șoferului. După ce pneurile au fost umflate, trebuie să introduceți cheia de contact și să porniți tabloul de bord: puteți selecta ecranul care indică presiunea pneurilor, verificând că valorile au fost modificate. Așteptând câteva secunde, indicatorul de presiune a pneurilor se va stinge automat. by ScegliAuto Alte videoclipuri
|
|
Pentru publicitatea pe acest site Scrie la info@scegliauto.com
ScegliAuto nu este responsabil pentru eventualele inexactități ale datelor din listă. Pentru a semnala o posibilă inexactitate sau activitatea dvs. (dacă sunteți titularul activității respective), vă rugăm să scrieți la info@scegliauto.com
Numărul de secunde necesare pentru generarea paginii: 0.334
(c) ScegliAuto 2026 - info@scegliauto.com - Politica de confidențialitate Cod TVA: IT01247470535 |
