
|
Fă-o singur
| |||
| ||||


Înlocuirea placuțelor de frână față.
Model: BMW Seria 3
E36
- Ani 1990-2001
By checking the level of the brake system oil in its respective tank, you will notice a decrease in the level itself due to the wear of the brake pads causing the actuation piston to protrude further and consequently the oil level in the tank drops. We proceed with the disassembly of the front wheel: locate the protection cap of the jack housing along the sill and remove it with the help of a small screwdriver. Insert the jack and tension it without starting to lift the car. At this point, loosen all the fastening bolts of the wheel slightly and proceed with the lifting until the wheel is sufficiently far from the road surface. Complete the loosening of the bolts and remove the wheel. Locate the protective box of the ABS sensor sockets (gray socket) and the brake pad wear sensor (black socket) located just behind the shock absorber, open it, and release the brake pad wear sensor socket to facilitate the subsequent removal by also removing the grommet cable pass-through. Release the fastening spring of the front brake pad by levering with the large screwdriver. Locate the protective caps of the fastening bolts of the brake caliper placed behind the caliper itself and remove them with the small screwdriver. Using the 7mm hexagonal wrench, loosen the bolts completely and lever with the large screwdriver on the brake pads to create some play and facilitate the removal of the caliper. Remove the worn brake pads (it is possible to distinguish the front pad from the rear one as the latter has anchoring tabs on the actuation piston) and remove the wear sensor from the rear pad. It is now necessary to retract the actuation piston to create the housing for the new pads that have a significantly greater thickness than the worn ones: for this operation, use the clamp by inserting the head of the screw inside the actuation piston and rotating slowly to overcome the pressure opposed by the oil and lower the piston itself until the end of the stroke. Reposition the wear sensor in the appropriate housing of the rear pad, pass the cable inside the actuation piston, and correctly attach the pad to the actuation piston. Then insert the front pad into the appropriate housing (this is a mandatory position) and reposition the caliper. Screw the caliper fastening bolts, making sure they thread without obstruction, proceed with tightening and reposition the protective caps. Reattach the retaining spring; release the sensor cable, the socket, and close the protective box of the sockets. Remount the wheel by tightening the bolts correctly, lower the car, extract the jack, and check the tightening of the bolts again. Finally, pump the brake pedal until it offers the correct resistance (this operation serves to return the actuation piston to the correct position). The tools needed to perform this operation are: the lifting jack, the key/lever for the wheel fastening bolts, a large and a small screwdriver, a 7mm hexagonal wrench, a clamp, and of course, the new set of brake pads.
Introdus la 1 November 2013 by ScegliAuto
Tutorial video
Tutoriale conexe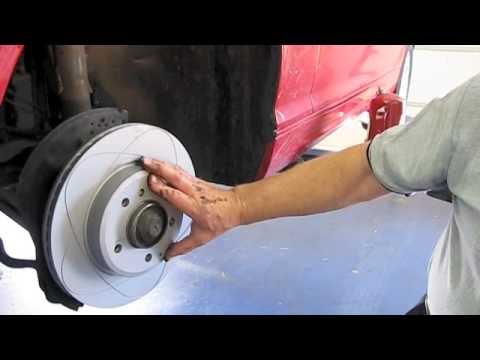
BMW Seria 3
(1998-2006 /
E46)
Ridicați mașina pe un pod de ridicare și demontați roțile din față. Dezlegați arcușul de fixare a placuțelor de frână și desfaceți șuruburile de fixa…
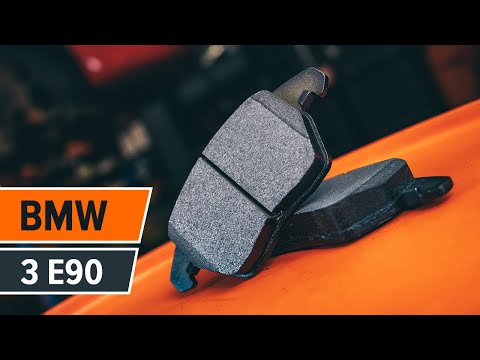
BMW Seria 3
(2005-2013 /
E91, E90, E92)
Să vedem cum să schimbăm discurile și plăcuțele de frână ale BMW Seria 3. Ridicăm mașina pe un pod de lucru și o aducem la o înălțime de lucru, demon…
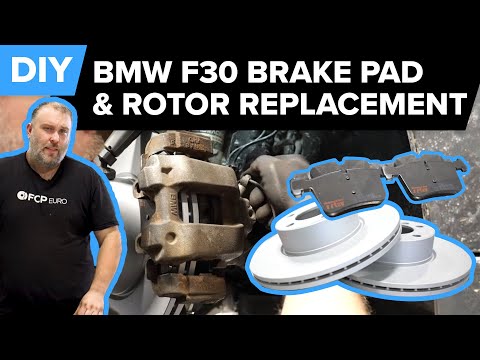
BMW Seria 3
(2012-2019 /
F30, F31)
În tutorialul video de astăzi vom vedea cum să demontăm și să înlocuim discurile și pastilele de frână din față pe un BMW Seria 3 F30 și F31, urmând …
Alte ghiduri care te-ar putea interesa |
Cum să înlocuiți oglinda retrovizoare exterioară a Ford C MAX.
În caz de rupere, va trebui să înlocuiți oglinda exterioară a Ford C Max din 2011, această operațiune este ușor de realizat în mod independent. Începem demontarea scoțând cu o pârghie din plastic învelișul interior al oglinzii. Cu o cheie tubulară, apoi scoatem șuruburile de strângere. După ce am îndepărtat șuruburile, putem îndepărta oglinda, nu înainte de a fi îndepărtat clemele de alimentare. Apoi continuăm cu montarea oglinzii noi. Mai întâi conectăm clemele și apoi fixăm oglinda în suportul său cu șuruburile. Montăm capacul din plastic și folosind butoanele de manevră testăm funcționarea oglinzii electrice. by ScegliAuto Alte videoclipuri
|
|
Pentru publicitatea pe acest site Scrie la info@scegliauto.com
ScegliAuto nu este responsabil pentru eventualele inexactități ale datelor din listă. Pentru a semnala o posibilă inexactitate sau activitatea dvs. (dacă sunteți titularul activității respective), vă rugăm să scrieți la info@scegliauto.com
Numărul de secunde necesare pentru generarea paginii: 0.032
(c) ScegliAuto 2026 - info@scegliauto.com - Politica de confidențialitate Cod TVA: IT01247470535 |
