
|
Fă-o singur
| |||
| ||||


Repararea geamului electric cu un kit de reparație.
Model: Jeep Grand Cherokee
MK 2, WJ
- Ani 1998-2004
The first operation to be carried out is the disassembly of the door panel: unscrew the various fixing screws and, using a flathead screwdriver, lever along the edges to release the snap fasteners; disconnect the connectors and the opening handle cable in order to remove it completely. Then remove the speaker and carefully peel off the plastic covering, being careful not to tear it. At this point, unscrew the fixing pins of the window regulator, release the clamps holding the glass in place to remove it, and complete the disassembly of the window regulator with the motor. Release the plastic guides and remove the central support in order to mill the damaged central plastic insert that serves as a support for the cable ends; remove it, so that the metal one can be applied, fixed with a bracket and screws. Attach the cables to the new support and reassemble everything by reversing the steps.
Introdus la 18 May 2014 by ScegliAuto
Tutorial video
Tutoriale conexe
Jeep Grand Cherokee
(2004-2010 /
WK, MK 3, WH)
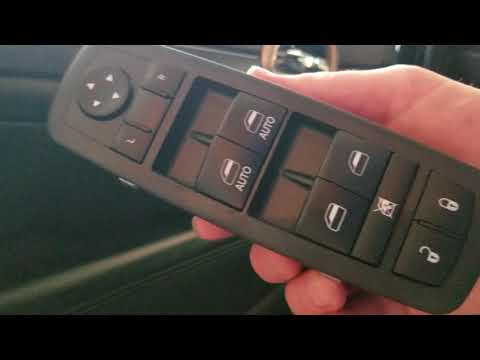
Curățarea suportului de obiecte. Dezvăluie cele trei șuruburi de pe mâner folosind o cheie Torx de 3. Îndepărtează mânerul prin glisarea acestuia de …
Jeep Grand Cherokee
(2010-2021 /
WK2, MK 4)
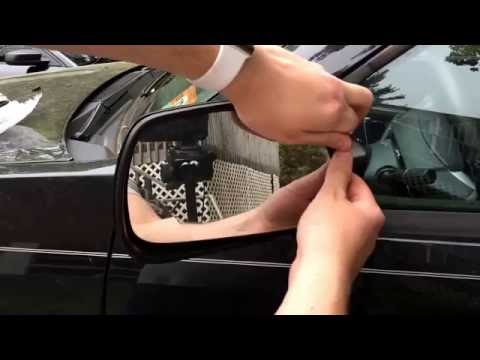
Înainte de a începe, trebuie să deschidem ușa șoferului la Jeep Grand Cherokee. Cu ajutorul unei unelte subțiri, dar rezistente, și folosindu-ne de p…
Jeep Grand Cherokee
(2004-2010 /
WK, MK 3, WH)
Vedem demontarea oglinzii exterioare a unui Jeep Grand Cherokee. Cu ajutorul unei pârghii cu înveliș de plastic (cauciuc), apăsăm între marginea cadr…
Alte ghiduri care te-ar putea interesa
|
Cum să verifici nivelul uleiului de motor al unei Volvo V40.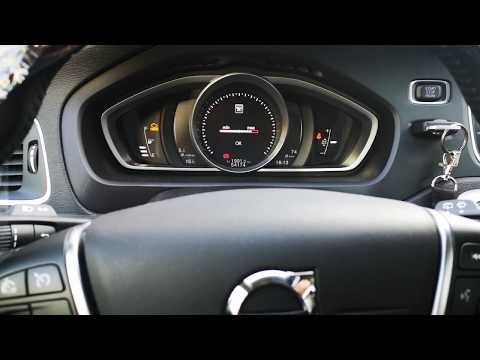
În acest videoclip vedem cum să verificăm nivelul de ulei al unei Volvo V40: de fapt, aceste vehicule nu au bățul de măsurare a nivelului, așa că nivelul trebuie verificat de pe tabloul de bord. Pornim apoi contactul și apăsăm butonul "ok" care se află pe maneta de semnalizare din stânga volanului. Lângă acesta găsim un buton rotativ cu care navigăm prin diferite opțiuni până când ajungem la desenul sticlei de ulei. Apăsând "ok", vedem nivelul de ulei. Amintim că procedura trebuie făcută absolut cu mașina în plan, toate ușile, capota, portbagajul închise și mașina oprită și oprită de cel puțin 5 minute. by ScegliAuto Alte videoclipuri
|
|
Pentru publicitatea pe acest site Scrie la info@scegliauto.com
ScegliAuto nu este responsabil pentru eventualele inexactități ale datelor din listă. Pentru a semnala o posibilă inexactitate sau activitatea dvs. (dacă sunteți titularul activității respective), vă rugăm să scrieți la info@scegliauto.com
Numărul de secunde necesare pentru generarea paginii: 0.127
(c) ScegliAuto 2026 - info@scegliauto.com - Politica de confidențialitate Cod TVA: IT01247470535 |
