
|
Fă-o singur
| |||
| ||||


|
The electric sunroof is one of the most elegant accessories to see on a car and is one of the options that make it more luxurious and comfortable. Furthermore, one of the characteristics not to be underestimated is the fact that the sunroof allows for significant fuel savings compared to what is required by normal air conditioners, as it allows air to enter directly without the need for other devices. If you decide to install it yourself, all you need to consider is that you will need a specific installation kit, an electric drill, keys, screwdrivers, pliers, a grinder, not to forget safety glasses, and resistant work gloves. Let's now move on to some simple instructions for installation: the first thing to do will be to determine whether you prefer an opening panel or a fixed glass one that only has a panoramic function. Clearly, the latter is easier to install. However, if you choose to install an opening sunroof, you will need to follow some precautions in the work to be done. After obtaining the appropriate work kit, including the sunroof, you will need to position it on the vehicle, after accurately marking where to locate it. Once the perforations have been made, use a grinder to cut the outline. At this point, remove the metal rectangle from the vehicle. Then, attach the protective film strips and the side ones along the edges and insert the deflector. Then, connect the switch with the cables and verify that everything works correctly.
Introdus la 15 July 2018 by ScegliAuto
Acest videoclip nu este disponibil momentan
Tutoriale conexe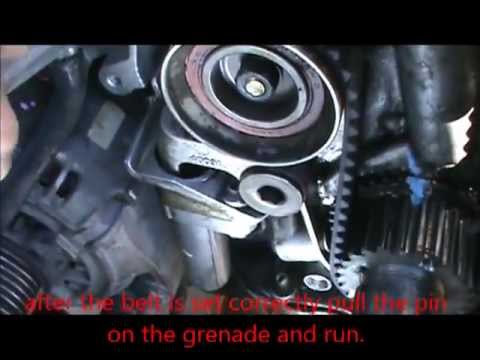
Lexus IS
(1998-2005 /
MK 1)
La pompa de apă este acționată de curea de distribuție, de aceea se sugerează efectuarea acestei reparații doar dacă aveți cunoștințe bune de mecanic…
Alte ghiduri care te-ar putea interesa
|
Cum să înlocuiți bateria telecomenzii Volvo XC40?
În acest tutorial putem vedea cum să înlocuim bateria telecomenzii Volvo XC40, o operațiune extrem de simplă și rapidă. Pentru a face acest lucru, avem nevoie de o baterie de rezervă de tip CR2032 și, eventual, un mic șurubelniță cu vârful plat. În primul rând, îndepărtăm capacul frontal acționând butonul situat pe inelul metalic, apoi identificăm al doilea buton, îl acționăm și îndepărtăm capacul opus. Apoi deschidem capacul circular, scoatem bateria veche și introducem cea de rezervă în sens opus. În final, reasamblăm totul. by ScegliAuto Alte videoclipuri
|

|
Pentru publicitatea pe acest site Scrie la info@scegliauto.com
ScegliAuto nu este responsabil pentru eventualele inexactități ale datelor din listă. Pentru a semnala o posibilă inexactitate sau activitatea dvs. (dacă sunteți titularul activității respective), vă rugăm să scrieți la info@scegliauto.com
Numărul de secunde necesare pentru generarea paginii: 0.116
(c) ScegliAuto 2026 - info@scegliauto.com - Politica de confidențialitate Cod TVA: IT01247470535 |
