
|
Fă-o singur
| |||
| ||||


Înlocuirea filtrului de aer al habitaclului.
Model: Mazda 3
MK 2, BL
- Ani 2009-2013
The cabin air filter (actually there are two) is located behind the central tunnel and it is necessary to remove the passenger side storage compartment to access it.
The first step is to remove the central dashboard trim: simply open the door of the storage compartment and pull the trim with your hands to release it. Then unscrew the two fixing screws of the storage compartment and pull it to release it and remove it from its seat; then disconnect the bulb holder along with the power supply socket. Release and remove the plastic cover panel of the fuse box: there are two side tabs to press. Remove the triangular plastic cap located on the side of the central tunnel, near the floor mat, by pulling the central snap fastener. Then rotate the two fixing screws of the fuse box, lower it and disconnect the connectors connected to it; at this point, unscrew the rear fixing screws of the fuse box (it is recommended to use a flexible screwdriver) and move it laterally in order to then remove the cabin air filters. At the very bottom of the central tunnel, you can see the cap of the cabin air filter container, which is fixed with two screws that need to be removed. Once the cap is removed, you can remove the two filters. Clean the filter container and insert the two new filters (one on top of the other) following the direction of the airflow. Then reassemble everything that was previously removed.
Introdus la 4 May 2016 by ScegliAuto
Tutorial video
Tutoriale conexe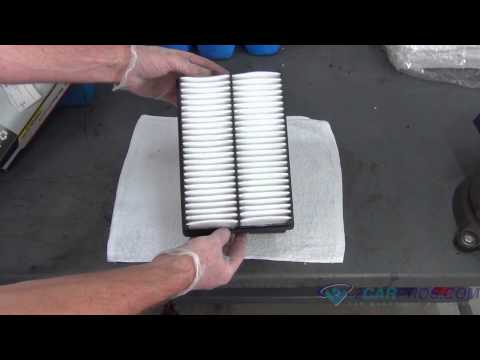
Mazda 3
(2009-2013 /
MK 2, BL)
Este foarte important să schimbați filtrul de aer al habitaclului deoarece acesta ne protejează de agenții externi și permite sistemului de ventilați…
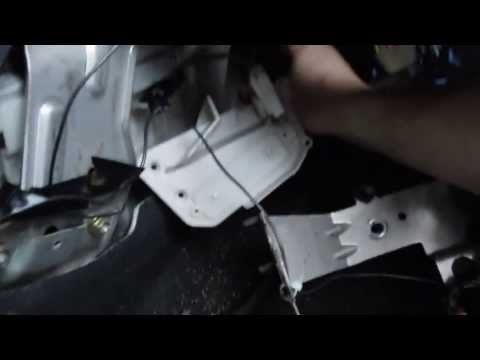
Mazda 3
(2003-2009 /
BK, MK 1)
Filtrul de aer pentru habitaclu se află pe partea pasagerului, în spatele compartimentului pentru obiecte care trebuie îndepărtat. Deschideți, așadar…
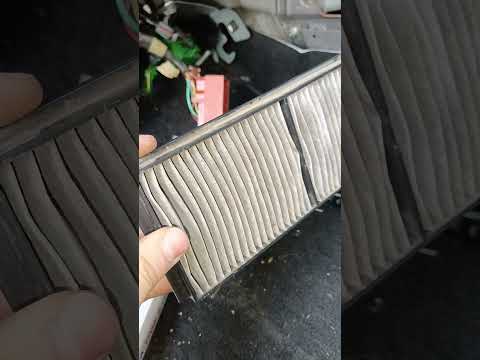
Mazda 3
(2003-2009 /
BK, MK 1)
Norocos, înlocuirea filtrului de aer din habitaclul mașinii dvs. Mazda 3 din 2007 este una dintre cele mai simple operațiuni pe care le puteți face c…
Alte ghiduri care te-ar putea interesa
|
Cum să înlocuiți bateria telecomenzii Volvo XC40?
În acest tutorial putem vedea cum să înlocuim bateria telecomenzii Volvo XC40, o operațiune extrem de simplă și rapidă. Pentru a face acest lucru, avem nevoie de o baterie de rezervă de tip CR2032 și, eventual, un mic șurubelniță cu vârful plat. În primul rând, îndepărtăm capacul frontal acționând butonul situat pe inelul metalic, apoi identificăm al doilea buton, îl acționăm și îndepărtăm capacul opus. Apoi deschidem capacul circular, scoatem bateria veche și introducem cea de rezervă în sens opus. În final, reasamblăm totul. by ScegliAuto Alte videoclipuri
|
|
Pentru publicitatea pe acest site Scrie la info@scegliauto.com
ScegliAuto nu este responsabil pentru eventualele inexactități ale datelor din listă. Pentru a semnala o posibilă inexactitate sau activitatea dvs. (dacă sunteți titularul activității respective), vă rugăm să scrieți la info@scegliauto.com
Numărul de secunde necesare pentru generarea paginii: 0.047
(c) ScegliAuto 2026 - info@scegliauto.com - Politica de confidențialitate Cod TVA: IT01247470535 |
