
|
Fă-o singur
| |||
| ||||


|
Disconnect the negative pole of the battery. Gently remove the plastic cover protecting the engine by simply lifting it upwards. To avoid confusion with the cables, proceed to disconnect only the first spark plug. Using a 10mm tube key, unscrew the holding nut of the first spark plug and remove the cable upwards. The first spark plug is located at the bottom of the well. Before proceeding with the disassembly, thoroughly clean the wells with compressed air to remove any dirt that could fall into the combustion chamber. Using the appropriate spark plug key, which has a rubber attachment device, gently insert it onto the spark plug head and unscrew it. Be careful not to drop any foreign objects into the well. Replace the spark plug with the same model by carefully inserting it into the well, always using the appropriate key and turning it gently to ensure it is screwed in correctly. If there is resistance, remove it and try again. The spark plugs should be tightened with a torque wrench. If the key is not available, tighten without excessive force. Repeat the same operation with the other spark plugs.
Introdus la 15 September 2014 by ScegliAuto
Tutorial video
Tutoriale conexe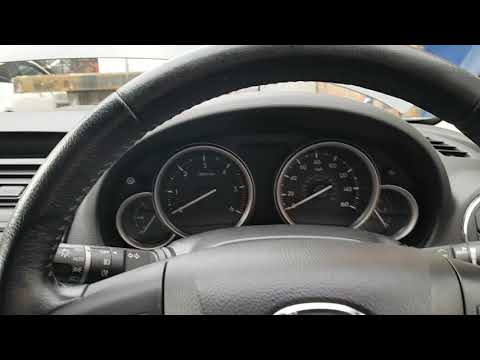
Mazda 6
(2012-2024 /
GJ, MK 3)
Pentru a reseta indicatorul de filtru de particule al Mazda 6 trebuie să vă deplasați în interiorul mașinii și să porniți contactul. După ce ați făcu…

Mazda 6
(2002-2008 /
MK 1, GG)
Deschideți și ridicați capota, astfel puteți continua cu îndepărtarea capacului superior al motorului, trăgându-l de punctele în care se află clipsur…

Mazda 6
(2002-2008 /
MK 1, GG)
Deschideți și ridicați capacul motorului, acum trebuie să îndepărtați și capacul superior al motorului și să procedați la îndepărtarea clemelelor con…
Alte ghiduri care te-ar putea interesa
|
Cum să demontați a treia lumină de frână de pe Renault Clio.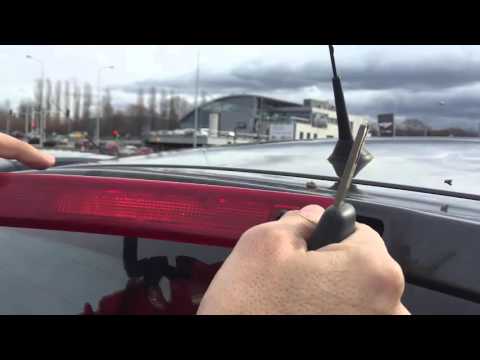
În acest videoclip vom vedea cum să demontăm a treia lumină de frână a unui Renault Clio. În primul rând, deschidem capota portbagajului, îndepărtăm cu un şurubelniţă capsele de plastic şi închidem portbagajul. Scoatem a treia lumină de frână din tablă (cu mâinile). Odată ce am scos piesa din locul ei, putem deconecta clema de alimentare și conecta noua a treia lumină de frână. După ce am montat becurile, introducem piesa în locul ei de pe capotă și o fixăm cu capsele de plastic. În final, verificăm funcționarea corectă a luminilor, după ce am aprins bordul. by ScegliAuto Alte videoclipuri
|
|
Pentru publicitatea pe acest site Scrie la info@scegliauto.com
ScegliAuto nu este responsabil pentru eventualele inexactități ale datelor din listă. Pentru a semnala o posibilă inexactitate sau activitatea dvs. (dacă sunteți titularul activității respective), vă rugăm să scrieți la info@scegliauto.com
Numărul de secunde necesare pentru generarea paginii: 0.039
(c) ScegliAuto 2026 - info@scegliauto.com - Politica de confidențialitate Cod TVA: IT01247470535 |