
|
Fă-o singur
| |||
| ||||


Instrucțiuni pentru montarea ventilatorului intern.
Model: Opel Vectra
Vectra C, MK 3
- Ani 2002-2008
By varying the internal fan speed adjustment, the airflow does not change, it is likely that there may be a problem with either the speed regulator or the fan itself. To access the internal ventilation system, you need to remove the passenger side storage compartment: open the door and unscrew the three screws along the upper inner edge; then move on to the two screws below and remove the storage compartment after disconnecting the internal lighting bulb socket. At this point, it is possible to access the back of the central tunnel and remove the speed regulator: it is a plate located just below the engine; once removed, you can check its correct functioning by inserting a bulb into the socket that goes to the engine: the brightness should increase as the fan speed setting increases. If the outcome is positive, then the problem lies in the fan: remove the front protection and check if the rotation is free or slightly hindered; in the latter case, lubricate the fan until it rotates freely.
Introdus la 15 April 2016 by ScegliAuto
Tutorial video
Tutoriale conexe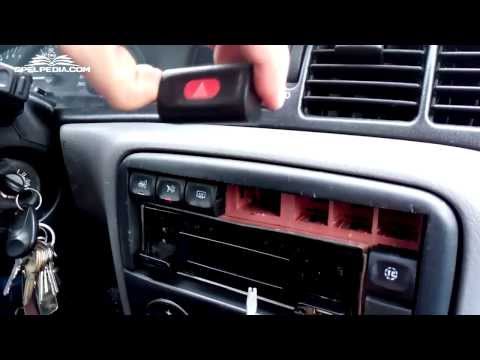
Opel Vectra
(1995-2002 /
MK 2, Vectra B)
Demontarea butoanelor de pe consola centrală este foarte simplă, deoarece acestea sunt fixate doar prin intermediul unor clipsuri elastice din metal.…

Opel Vectra
(2002-2008 /
Vectra C, MK 3)
Demontarea radioului este extrem de simplă, cu condiția să aveți cheile de extragere adecvate: acestea sunt niște fire din oțel rezistent în formă de…
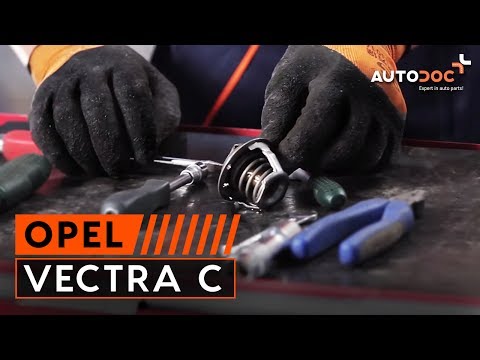
Opel Vectra
(2002-2008 /
Vectra C, MK 3)
Pentru a putea înlocui termostatul, trebuie să deschideți supapa de scurgere a lichidului de răcire și să-l lăsați să curgă până când este complet co…
Alte ghiduri care te-ar putea interesa
|
Cum să înlocuiți becul defect al plăcii de înmatriculare la Fiat 600.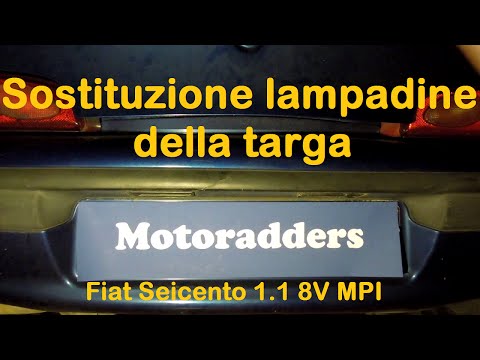
În acest videoclip vedem cum să înlocuim becul deteriorat al plăcuței de înmatriculare de pe Fiat 600. Cu ajutorul unui șurubelniță sau a unei pârghii din plastic, îndepărtăm becul de iluminare al plăcuței de pe bara din spate a mașinii. După ce am îndepărtat becul de iluminare, scoatem suportul de bec (cu mâinile), apoi deconectăm becul de pe acesta. Montăm becul nou/LED (de aceeași mărime și tensiune), introducându-l în suportul de bec, apoi remontăm becul în tabla ușii, apăsând până când clipsurile se blochează automat. În final, testăm funcționarea corectă a becului montat anterior. by ScegliAuto Alte videoclipuri
|
|
Pentru publicitatea pe acest site Scrie la info@scegliauto.com
ScegliAuto nu este responsabil pentru eventualele inexactități ale datelor din listă. Pentru a semnala o posibilă inexactitate sau activitatea dvs. (dacă sunteți titularul activității respective), vă rugăm să scrieți la info@scegliauto.com
Numărul de secunde necesare pentru generarea paginii: 0.017
(c) ScegliAuto 2026 - info@scegliauto.com - Politica de confidențialitate Cod TVA: IT01247470535 |