
|
Fă-o singur
| |||
| ||||


Montarea unui buton accesoriu pentru pornirea motorului.
Model: Opel Corsa
Corsa C
- Ani 2000-2006
As the first operation, it is suggested to disconnect the battery to avoid possible damage to the electrical system. First of all, the plastic covers for the turn signal switch must be removed: the upper one is simply stuck (so just pull it to release it); the lower one, on the other hand, is fixed with three 20 torx screws (2 upper - one on the left and the other on the right - and one placed underneath, inside the appropriate passage hole on the cover itself). However, before unscrewing the fixing screws of the lower cover, it is necessary to remove the plastic handle of the steering wheel position adjustment lever: the handle is fixed with a 3mm hexagonal screw.
Once the covers are removed, it is possible to identify the contacts of the starting system, just behind the key block. Therefore, unplug the socket by pressing simultaneously on the two fixing tabs. On the socket, there are 4 wires of different colors and in order from left to right they are: black (negative), red (positive under key), red (battery positive), red/black (starter motor). In order to install the accessory start button, it is necessary to intercept the red/black wire of the starter motor and connect to it (clearly properly isolating the connection with tape) a cable of appropriate section and length, which must then be taken to the point where the accessory button is to be installed. It is suggested to position the button in place of the cigarette lighter, to simplify both the passage of the cable and the electrical connections (to the button, in fact, a positive must be connected together with the motor cable). At the cigarette lighter, in fact, two cables are connected: one black (positive) and one brown (negative). The wiring diagram for the accessory start button is therefore as follows: on the first terminal block (the green one), connect the red/black of the starter motor and the black (positive) of the cigarette lighter; on the second terminal block (the yellow one for the button illumination lamp power supply) connect a positive and a negative. After completing the electrical connections, reassemble the turn signal switch covers, the handle of the adjustment lever and reconnect the battery.
Introdus la 14 February 2014 by ScegliAuto
Tutorial video
Tutoriale conexe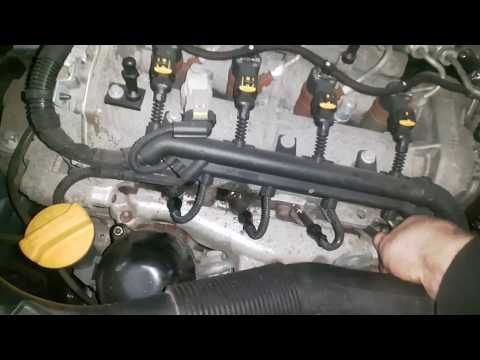
Opel Corsa
(2006-2014 /
Corsa D)
Să vedem înlocuirea bujiilor de incandescentă la un Opel Corsa Diesel. Ridicăm capota pentru a avea acces la compartimentul motor și începem demontar…
Opel Corsa
(1993-2000 /
Corsa B)
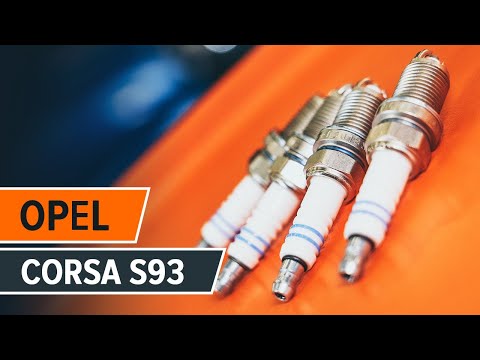
Când lucrăm la motor, trebuie să ne amintim întotdeauna să deconectăm conectorul bobinei de aprindere. Următorul pas este de a desface șuruburile car…
Opel Corsa
(2000-2006 /
Corsa C)
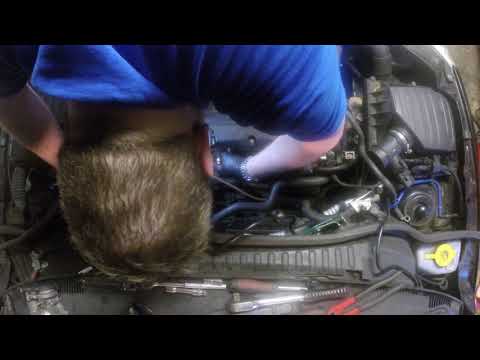
Înlocuirea motorului de pornire al unui Opel Corsa dacă este deteriorat? Să vedem cum se demontează. Deschidem și ridicăm capota frontală, deconectăm…
Alte ghiduri care te-ar putea interesa
|
Cum se repară arcul cheii de la Peugeot 207?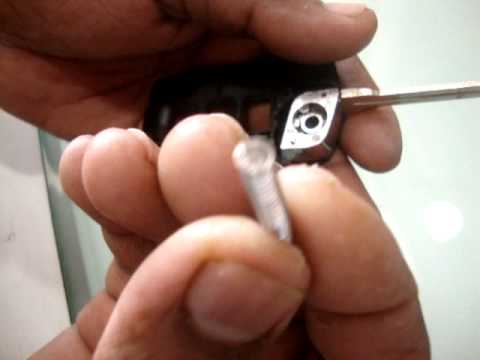
Trecerea timpului și utilizarea deschiderii cu clic a cheii mașinii, de zeci de ori pe zi, duc inevitabil la uzura arcului intern al aceleiași chei. Așa cum se poate observa în acest videoclip, înlocuirea arcului menționat este o lucrare destul de simplă și necesită puțin timp. După deschiderea carcasei deținătoare la jumătate, se plasează mai întâi cheia, apoi bucșa de fixare a arcului și, în final, arcul menționat anterior în interiorul bucșei menționate anterior. Carcasa se închide, rotind în sensul acelor de ceasornic și îmbinând perfect toate elementele menționate mai sus și testând deschiderea cu clic a cheii. by ScegliAuto Alte videoclipuri
|
|
Pentru publicitatea pe acest site Scrie la info@scegliauto.com
ScegliAuto nu este responsabil pentru eventualele inexactități ale datelor din listă. Pentru a semnala o posibilă inexactitate sau activitatea dvs. (dacă sunteți titularul activității respective), vă rugăm să scrieți la info@scegliauto.com
Numărul de secunde necesare pentru generarea paginii: 0.575
(c) ScegliAuto 2026 - info@scegliauto.com - Politica de confidențialitate Cod TVA: IT01247470535 |
