
|
Fă-o singur
| |||
| ||||


|
Model: Piaggio Vespa Gts 250
The guide shows how to replace the water pump on the Vespa GTS 250. The pump is located on the right side, at the end of the scooter's lower body. To start, it is necessary to remove the right side plastic partition by unscrewing the two screws at the beginning and end. By disconnecting the metal clips on the water hoses, it is possible to drain the coolant. At this point, it is possible to unscrew the three fixing screws of the pump's metal plate; since they are very tight, it is advisable to use an impact screwdriver to avoid stripping the screws. By unscrewing the cap of the water tank, located on the right side of the scooter's front, it will be possible to drain all the fluid. In order to have more workspace, it is necessary to lower the engine; from the compartment under the seat, proceed with the disassembly of some parts. The front hose and some clamps must be disconnected; the stator cables must be disconnected. The screw fixing the air filter box on the left side must be unscrewed, so that the rear shock absorber bolt can be unscrewed. Now it is possible to remove the stator cover and replace the fan pump's rotation axis. This piece can be found already assembled on the internet. Now it is possible to reassemble the stator and the gasket on the engine. At this point, it is possible to reassemble the pump. By following the steps in reverse, it is possible to reassemble the disassembled parts. At this point, the operation is finished.
Introdus la 11 June 2021 by ScegliAuto
Tutorial video
Tutoriale conexe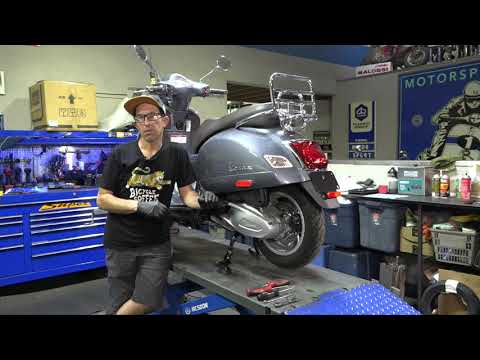
Vespa Gts 250
În tutorialul video de astăzi vom vedea cum să demontăm și să înlocuim filtrul de aer al motorului de pe Piaggio Vespa GTS 250, dar și pe 300, în paș…
Vespa Gts 250
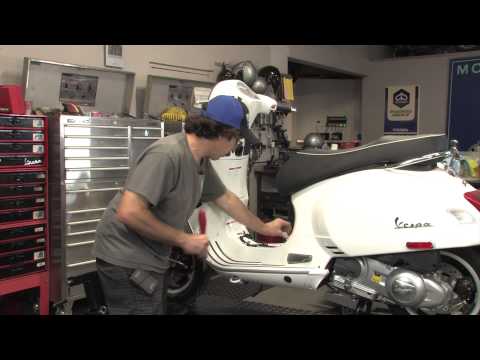
În acest tutorial video vom vedea cum să demontăm și să înlocuim bateria unui Piaggio Vespa GTS 250-300. În primul rând, vom îndepărta șuruburile de …
Vespa Gts 250
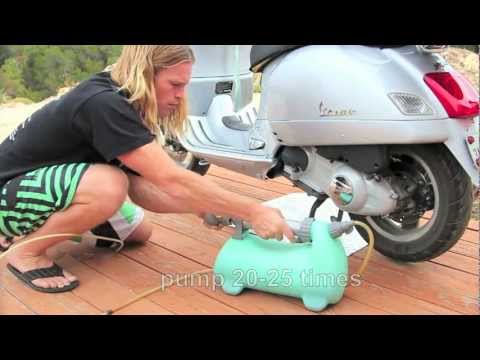
În acest tutorial vom vedea cum să înlocuim uleiul de motor în scuterul Piaggio Vespa 250, operație foarte simplă și rapidă. Așteptăm mai întâi ca mo…
|
Cum se setează ceasul de pe Yamaha R1?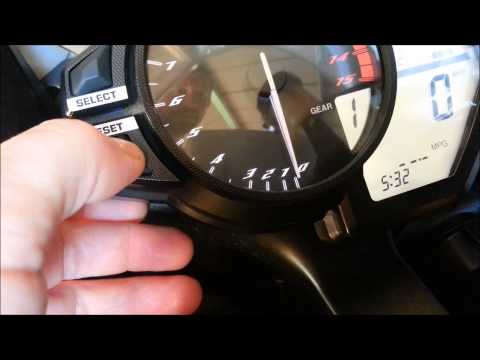
Pentru a seta ceasul de pe Yamaha R1, trebuie să porniți tabloul de bord, introducând cheia de contact în blocul de contact și întorcând-o: odată ce tabloul de bord este pornit, puteți proceda ținând apăsați butoanele SELECT și RESET în același timp. În acest mod veți observa că orele afișate pe tabloul de bord încep să clipească; apăsând repetat butonul RESET veți putea modifica orele. La acest punct puteți apăsa butonul SELECT observând că minutele încep să clipească și pot fi modificate în același mod. by ScegliAuto Alte videoclipuri
|
|
Pentru publicitatea pe acest site Scrie la info@scegliauto.com
ScegliAuto nu este responsabil pentru eventualele inexactități ale datelor din listă. Pentru a semnala o posibilă inexactitate sau activitatea dvs. (dacă sunteți titularul activității respective), vă rugăm să scrieți la info@scegliauto.com
Numărul de secunde necesare pentru generarea paginii: 0.007
(c) ScegliAuto 2026 - info@scegliauto.com - Politica de confidențialitate Cod TVA: IT01247470535 |
