
|
Fă-o singur
| |||
| ||||


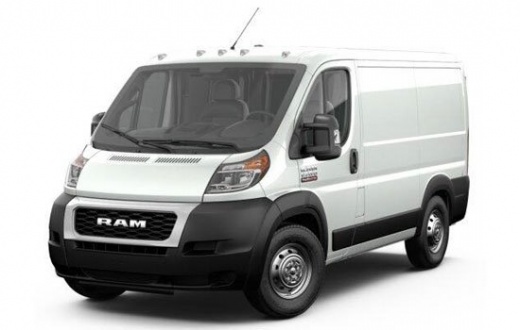
Cum să înlocuiți discul și placuțele de frână de pe spatele RAM ProMaster 1500 Mk1
Model: RAM Promaster
MK 1
- Ani 2014-2022
The guide shows how to replace the brake pads and rear brake discs of the RAM 1500 ProMaster Mk1. After removing the tire and safely lifting the vehicle, it is necessary to remove the two 14 mm bolts that hold the brake caliper in place and remove the piece. Remove the old brake pads and remove the two fixing bolts of the brake caliper bracket. Remove the two guide pins with a 12 mm wrench from the face of the brake disc. Using a hammer, remove the worn element. After cleaning the area from debris, install the new brake disc and secure it with the two pins. On the brake caliper bracket, install the new brake pad guides and reassemble it in place. Install the new brake pads, greasing the contact ends, and fully retract the caliper piston before reassembling it in place. Tighten the brake caliper to the bracket and connect the brake wear sensor. Reinstall the tire and check the proper functioning of the braking system before taking it on the road.
Introdus la 8 July 2023 by ScegliAuto
Tutorial video
Tutoriale conexe
RAM Promaster
(2014-2022 /
MK 1)
If the devices in our RAM Promaster van have suddenly stopped working, the first thing we can do is check the status of the corresponding fuses, whos…

RAM Promaster
(2014-2022 /
MK 1)
Înlocuirea filtrului de cabină al furgonetei RAM ProMaster este o operație foarte simplă și economică, să vedem cum să procedăm în acest tutorial. În…
RAM Promaster
(2014-2022 /
MK 1)
The RAM Promaster's fuses are contained within the appropriate fuse boxes that are installed on the vehicle: in this type of vehicle, two fuse boxes …
Alte ghiduri care te-ar putea interesa
|
Cum să înlocuiți peria de pe luneta din spate a unui Porsche Cayenne.
În acest videoclip vedem cum să demontăm și să înlocuim peria de pe luneta din spate a unui Porsche Cayenne. Prindem cu mâinile tija din spate din metal cu capac din plastic, tragem peria mobilă așa cum se vede în video până să o eliberăm de fixatoare (cu delicatețe, fără a rupe tija) și o desprindem de brațul situat în partea stângă. Montăm peria nouă pe tijă, vom auzi un clic de fixare. În final, coborâm brațul ștergătoarelor pe lunetă și testăm funcționarea periei noi. Este preferabil să montăm întotdeauna piese originale pentru o durată și calitate superioară. by ScegliAuto Alte videoclipuri
|
|
Pentru publicitatea pe acest site Scrie la info@scegliauto.com
ScegliAuto nu este responsabil pentru eventualele inexactități ale datelor din listă. Pentru a semnala o posibilă inexactitate sau activitatea dvs. (dacă sunteți titularul activității respective), vă rugăm să scrieți la info@scegliauto.com
Numărul de secunde necesare pentru generarea paginii: 0.019
(c) ScegliAuto 2026 - info@scegliauto.com - Politica de confidențialitate Cod TVA: IT01247470535 |