
|
Fă-o singur
| |||
| ||||


Înlocuirea senzorului de detonație
Model: Subaru Forester
SF, MK 1
- Ani 1997-2002
The detonation sensor is used to identify any abnormal combustion in the combustion chamber (detonation or knocking). By means of the detonation sensors, it is possible to achieve a particularly efficient combustion of the air and fuel mixture: the sensors are used to adjust the ignition timing to optimal values, in order to avoid detonation (knocking). In this way, the engine performance is optimized and fuel consumption and exhaust gas emissions are reduced. In addition, the detonation sensors have the function of protecting the engine components involved in the combustion process. The detonation sensor, installed on the engine block (cylinder head or intake manifold), is based on the principle of operation of a piezoelectric element and detects the accelerations on the engine structure at the point where it is installed. The piezoelectric element, depending on the acceleration it receives, generates an output voltage that is used to identify detonation events. To replace the sensor, it is sufficient to unscrew the respective fixing pin and disconnect the connector to be applied to the new sensor.
Introdus la 3 June 2017 by ScegliAuto
Tutorial video
Tutoriale conexe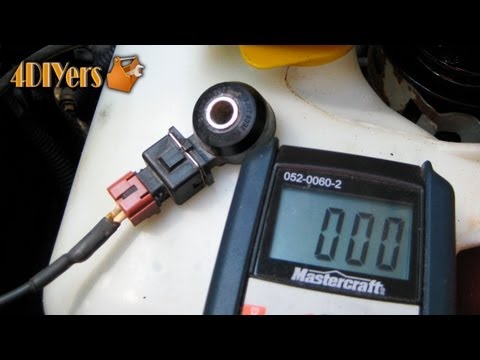
Subaru Forester
(1997-2002 /
SF, MK 1)
Senzorul de detectare detectează dacă explozia amestecului în cilindrii motorului are loc într-un mod necorespunzător, adică în condiții de detonare.…
Subaru Forester
(2012-2019 /
MK 4, SJ)
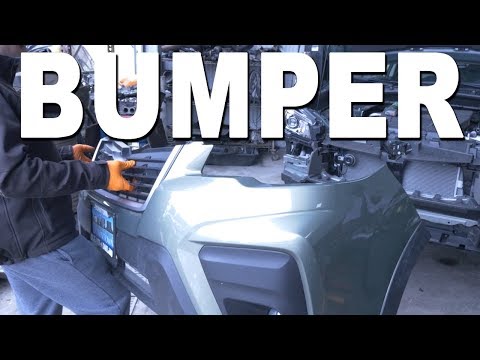
Astăzi descoperim informațiile principale utile pentru demontarea și înlocuirea barei de protecție față a Subaru Forester. În primul rând, deschidem …

Subaru Forester
(2008-2011 /
SH, MK 3)
Once the front hood is opened, the air filter container is located in the front left (when looking from the front); the first operation to be perform…
Alte ghiduri care te-ar putea interesa
|
Cum se repară arcul cheii de la Peugeot 207?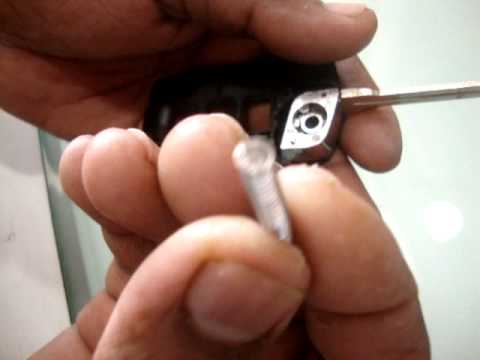
Trecerea timpului și utilizarea deschiderii cu clic a cheii mașinii, de zeci de ori pe zi, duc inevitabil la uzura arcului intern al aceleiași chei. Așa cum se poate observa în acest videoclip, înlocuirea arcului menționat este o lucrare destul de simplă și necesită puțin timp. După deschiderea carcasei deținătoare la jumătate, se plasează mai întâi cheia, apoi bucșa de fixare a arcului și, în final, arcul menționat anterior în interiorul bucșei menționate anterior. Carcasa se închide, rotind în sensul acelor de ceasornic și îmbinând perfect toate elementele menționate mai sus și testând deschiderea cu clic a cheii. by ScegliAuto Alte videoclipuri
|
|
Pentru publicitatea pe acest site Scrie la info@scegliauto.com
ScegliAuto nu este responsabil pentru eventualele inexactități ale datelor din listă. Pentru a semnala o posibilă inexactitate sau activitatea dvs. (dacă sunteți titularul activității respective), vă rugăm să scrieți la info@scegliauto.com
Numărul de secunde necesare pentru generarea paginii: 0.161
(c) ScegliAuto 2026 - info@scegliauto.com - Politica de confidențialitate Cod TVA: IT01247470535 |
