
|
Fă-o singur
| |||
| ||||


Înlocuirea discurilor de frână față.
Model: Volkswagen Golf
Golf IV, Golf 4, MK 4
- Ani:
1997, 1998, 1999, 2000, 2001, 2002, 2003
Tutorial video
Raise the car on a car lift and remove the wheel on which you need to work. Remove the plastic caps that protect the brake caliper fixing bolts and loosen the bolts themselves with a 6 mm hex key. Using a medium-sized flathead screwdriver, lever between the brake pad and the piston to retract the piston and create enough space to remove the caliper. Using a star screwdriver (it is recommended to use an impact screwdriver), unscrew the brake disc fixing screw from the hub and remove the disc itself (some hammer blows may be necessary). Clean the hub with an iron brush or sandpaper to remove any oxidation present and apply grease to prevent the formation of new oxide. Mount the new disc on the hub, aligning the fixing hole of the previously removed screw, and carefully tighten the screw. Before reassembling the brake caliper, it is recommended to also replace the brake pads; finally, reassemble the brake caliper by tightening the two fixing bolts and reapply the protection caps and then the wheel. Pump the brake pedal until it offers the right resistance to bring the piston back to the end of its stroke and pay attention to the first braking.
Introdus la 19 February 2016 by ScegliAuto
Tutoriale conexe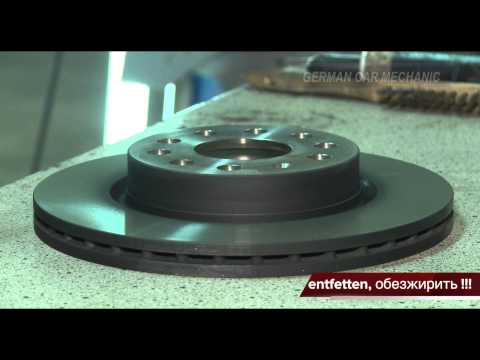
Volkswagen Golf
(2003-2008 /
Golf 5, MK 5, Golf V)
Ridicați mașina pe un pod de ridicare și demontați roata din față; deconectați mufa senzorului de uzură a frânelor, îndepărtați capacul de protecție …
Volkswagen Golf
(2008-2012 /
Golf 6, MK 6, 5K1, Golf VI)
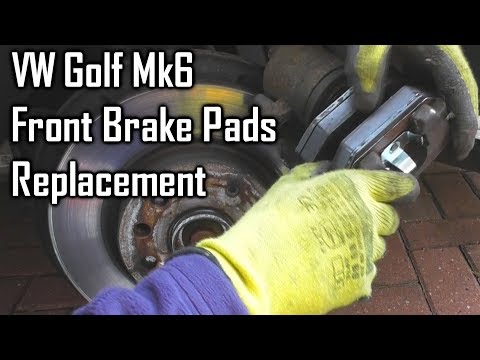
Înlocuirea placuțelor de frână față la Vw Golf 6. Ridicăm mașina cu un cric până la înălțimea dorită, apoi scoatem roata (cu o cheie telescopică) cu …
Volkswagen Golf
(1997-2003 /
Golf IV, Golf 4, MK 4)
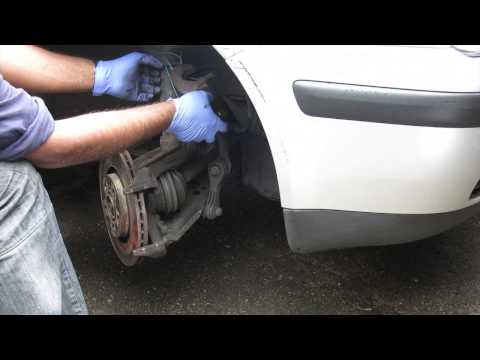
Ridicați mașina cu un cric și scoateți roata; apoi, desfaceți șuruburile de fixare ale clemei de frână amplasate în partea din spate (este posibil să…
Alte ghiduri care te-ar putea interesa |
Cum se deschide capota la Mitsubishi L200?
În acest tutorial putem vedea cum să deschidem capota la Mitsubishi L200, o operațiune foarte simplă și care nu diferă de procedura standard. În primul rând, deschidem vehiculul și ne deplasăm pe partea șoferului, apoi identificăm levierul amplasat în partea inferioară exterioară, chiar în fața pedalelor, și îl acționăm. Apoi ne poziționăm în fața capotei, identificăm al doilea levier amplasat deasupra logo-ului Mitsubishi și îl împingem spre dreapta, eliberând astfel încuietoarea. În acest moment putem ridica complet capota și o putem fixa cu ajutorul unui suport special. by ScegliAuto Alte videoclipuri
|
|
Pentru publicitatea pe acest site Scrie la info@scegliauto.com
ScegliAuto nu este responsabil pentru eventualele inexactități ale datelor din listă. Pentru a semnala o posibilă inexactitate sau activitatea dvs. (dacă sunteți titularul activității respective), vă rugăm să scrieți la info@scegliauto.com
Numărul de secunde necesare pentru generarea paginii: 0.010
(c) ScegliAuto 2026 - info@scegliauto.com - Politica de confidențialitate Cod TVA: IT01247470535 |
