
|
Fă-o singur
| |||
| ||||


Cum să demontați farul frontal al unui Volkswagen Golf 4.
Model: Volkswagen Golf
Golf IV, Golf 4, MK 4
- Ani:
1997, 1998, 1999, 2000, 2001, 2002, 2003
Tutorial video
Before starting to disassemble the front headlight, we will necessarily have to open the hood and remove the bumper. In order to do this, we will have to unscrew the visible screws in the front wheel arch with a T25 Torx screwdriver. Once those screws are removed, we will proceed to remove the screws located on the upper part of the bumper with a T30 Torx screwdriver. At this point, it will be necessary to remove the air vents located on the lower part of the bumper by simply pulling them out. By doing this, we will have access to two screws that we will unscrew and remove, and we will have freed up space to work properly on the headlights. Let's start by unscrewing the two screws on the upper part of the headlight, then we will unscrew another two screws on the lower part of the headlight. As soon as we finish unscrewing all the screws, we can remove the headlight from its housing; but before we can completely remove it, we will have to rotate the headlight 180 degrees and disconnect the plug with the help of a flathead screwdriver. Once the plug is disconnected, we will have finished disassembling the front headlight.
Introdus la 22 July 2021 by ScegliAuto
Tutoriale conexe
Volkswagen Golf
(2003-2008 /
Golf 5, MK 5, Golf V)
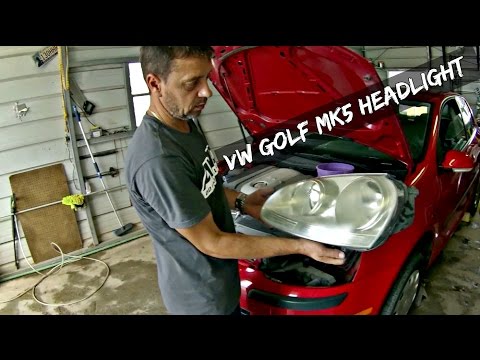
În acest tutorial vom vedea cum se demontează farul frontal al unui Volkswagen Golf mk5, model produs între 2003 și 2008. Înainte de a începe să înde…

Volkswagen Golf
(2003-2008 /
Golf 5, MK 5, Golf V)
În acest videoclip vedem cum să demontăm farul de ceață al unui Volkswagen Golf seria 5. Ne pregătim să demontăm farul de ceață lateral de pe bara de…
Volkswagen Golf
(2003-2008 /
Golf 5, MK 5, Golf V)
Înainte de a începe, trebuie să deschidem capota din față a mașinii noastre Volkswagen Golf. Începem prin a desprinde clemele care fixează grila din …
Alte ghiduri care te-ar putea interesa |
Cum se deschide capota la Mitsubishi L200?
În acest tutorial putem vedea cum să deschidem capota la Mitsubishi L200, o operațiune foarte simplă și care nu diferă de procedura standard. În primul rând, deschidem vehiculul și ne deplasăm pe partea șoferului, apoi identificăm levierul amplasat în partea inferioară exterioară, chiar în fața pedalelor, și îl acționăm. Apoi ne poziționăm în fața capotei, identificăm al doilea levier amplasat deasupra logo-ului Mitsubishi și îl împingem spre dreapta, eliberând astfel încuietoarea. În acest moment putem ridica complet capota și o putem fixa cu ajutorul unui suport special. by ScegliAuto Alte videoclipuri
|
|
Pentru publicitatea pe acest site Scrie la info@scegliauto.com
ScegliAuto nu este responsabil pentru eventualele inexactități ale datelor din listă. Pentru a semnala o posibilă inexactitate sau activitatea dvs. (dacă sunteți titularul activității respective), vă rugăm să scrieți la info@scegliauto.com
Numărul de secunde necesare pentru generarea paginii: 0.050
(c) ScegliAuto 2026 - info@scegliauto.com - Politica de confidențialitate Cod TVA: IT01247470535 |
