
|
Fă-o singur
| |||
| ||||


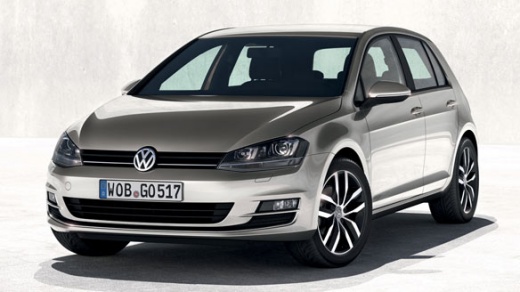
Înlocuirea motorului ștergătoarelor de parbriz.
Model: Volkswagen Golf
MK 7, Golf 7, Golf VII
- Ani:
2012, 2013, 2014, 2015, 2016, 2017, 2018, 2019
Tutorial video
It happens that even when moving the windshield wiper control lever to change the speed, it does not change, so it is likely that there is a problem with the wiper motor itself; in order to replace it, it is necessary to disassemble the entire control mechanism located just below the plastic grille under the windshield; then remove the windshield wiper arms, remove the plastic grille and dismantle the fixing pins of the complete control mechanism with the motor, disconnecting the plug and the cable pass-through. To be sure that the problem is in the motor, it can be connected directly and activated: even when changing the speed with the lever, the mechanism does not accelerate and noise can also be heard coming from the motor itself; therefore, replace only the motor and proceed backwards for installation.
Introdus la 22 February 2017 by ScegliAuto
Tutoriale conexe
Volkswagen Golf
(2003-2008 /
Golf 5, MK 5, Golf V)
Demontarea ștergătorului de parbriz spate? Să vedem cum se montează pe un Golf 5. Ridicăm hayonul compartimentului portbagaj, îndepărtăm capacul din …

Volkswagen Golf
(1997-2003 /
Golf IV, Golf 4, MK 4)
Cum să demontați motorul stergătorului de parbriz față al unui Golf 4? Să vedem cum să demontăm motorul din partea din față a mașinii. Tragem de levi…
Volkswagen Golf
(1997-2003 /
Golf IV, Golf 4, MK 4)
În acest scurt videoclip vedem instrucțiunile principale pentru a demonta și înlocui motorul ștergătorului de geam din spate al Volkswagen Golf, seri…
Alte ghiduri care te-ar putea interesa
|
Cum se deschide capota la Mitsubishi L200?
În acest tutorial putem vedea cum să deschidem capota la Mitsubishi L200, o operațiune foarte simplă și care nu diferă de procedura standard. În primul rând, deschidem vehiculul și ne deplasăm pe partea șoferului, apoi identificăm levierul amplasat în partea inferioară exterioară, chiar în fața pedalelor, și îl acționăm. Apoi ne poziționăm în fața capotei, identificăm al doilea levier amplasat deasupra logo-ului Mitsubishi și îl împingem spre dreapta, eliberând astfel încuietoarea. În acest moment putem ridica complet capota și o putem fixa cu ajutorul unui suport special. by ScegliAuto Alte videoclipuri
|
|
Pentru publicitatea pe acest site Scrie la info@scegliauto.com
ScegliAuto nu este responsabil pentru eventualele inexactități ale datelor din listă. Pentru a semnala o posibilă inexactitate sau activitatea dvs. (dacă sunteți titularul activității respective), vă rugăm să scrieți la info@scegliauto.com
Numărul de secunde necesare pentru generarea paginii: 0.024
(c) ScegliAuto 2026 - info@scegliauto.com - Politica de confidențialitate Cod TVA: IT01247470535 |
