
|
Kendin yap
| |||
| ||||


Hava filtresi değiştirme
Araç modeli: Mazda 3
MK 2, BL
- Yıllar 2009-2013
The cabin air filter (actually there are two) is located behind the center console and it is necessary to remove the passenger side glove box to access it.
The first step is to remove the central dashboard trim: simply open the glove box door and pull the trim with your hands to detach it. Then unscrew the two fixing screws of the glove box and pull it to detach and remove it from its housing; then disconnect the bulb holder together with the power socket. Detach and remove the plastic cover panel of the fuse box: there are two side tabs to press. Remove the triangular plastic cap located on the side of the center console, near the floor mat, by pulling the center snap fastener. Then rotate the two fixing screws of the fuse box, lower it and disconnect the connectors connected to it; at this point, unscrew the rear fixing screws of the fuse box (it is suggested to use a flexible screwdriver) and move it sideways so that the cabin air filters can be removed. Right at the bottom of the center console, you can see the cap of the cabin air filter housing, which is fixed with two screws that need to be removed. Once the cap is removed, the two filters can be pulled out. Clean the filter housing and insert the two new filters (one on top of the other) respecting the direction of the airflow. Then reassemble everything previously removed.
Eklendi 4 May 2016 by ScegliAuto
Video öğretici
İlgili eğitimler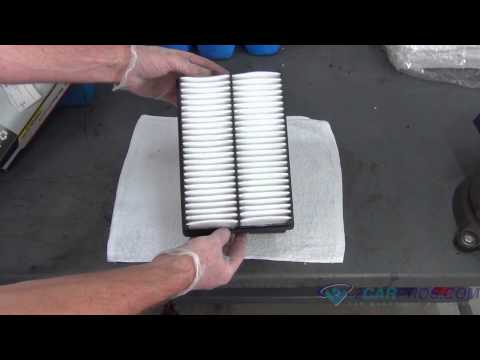
Mazda 3
(2009-2013 /
MK 2, BL)
Hava filtresini değiştirmek çok önemlidir çünkü bu bizi dış etkenlerden korur ve aracın havalandırma kanalının daha iyi nefes almasını sağlar. Sağlığ…
Mazda 3
(2003-2009 /
BK, MK 1)
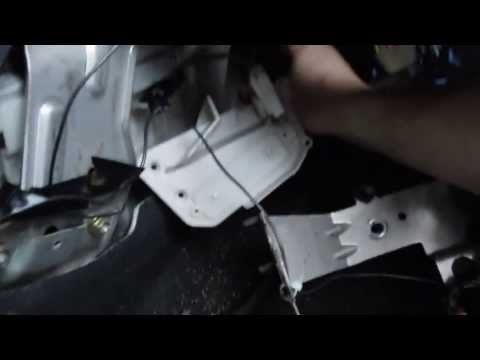
Hava filtresi yolcu tarafında, eşya gözünün arkasında bulunur ve çıkarılmalıdır. Eşya gözünün kapağını açın, gösterge panelinin ortasındaki süslemeyi…
Mazda 3
(2003-2009 /
BK, MK 1)
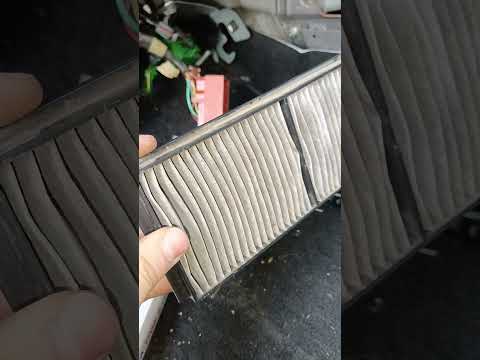
Neyse ki, 2007 model Mazda 3'ün iç mekanındaki hava filtresini değiştirmek, tamamen bağımsız olarak yapabileceğiniz en kolay işlemlerden biridir ve a…
İlginizi çekebilecek diğer rehberler
|
Volvo XC40'ın uzaktan kumanda pilini nasıl değiştirebilirim?
Bu rehberde Volvo XC40'ın uzaktan kumanda pilini nasıl değiştireceğimizi görebiliriz, bu işlem son derece kolay ve hızlıdır. Bunun için CR2032 tipinde yedek bir pil ve gerektiğinde düz uçlu küçük bir tornavida gerekecektir. İlk olarak metal halka üzerindeki düğmeyi kullanarak ön kapağı çıkarıyoruz, ardından ikinci düğmeyi bulup onu da kullanarak karşı kapağı çıkarıyoruz. Daha sonra daire şeklindeki kapağı açıyor, eski pilimizi çıkarıp yeni pili ters yönde yerleştiriyoruz. Son olarak her şeyi tekrar bir araya getiriyoruz. by ScegliAuto Daha fazla video
|

|
Bu sitede reklam için Yazın info@scegliauto.com
ScegliAuto, listelerde yer alan verilerin doğru olmama durumundan sorumlu değildir. Bir yanlışlık bildirmek veya ilgili faaliyetin sahibiyseniz lütfen şuraya yazın info@scegliauto.com
Sayfanın oluşturulması için geçen saniye sayısı: 0.168
(c) ScegliAuto 2026 - info@scegliauto.com - Gizlilik bildirimi KDV numarası: IT01247470535 |
