
|
Kendin yap
| |||
| ||||


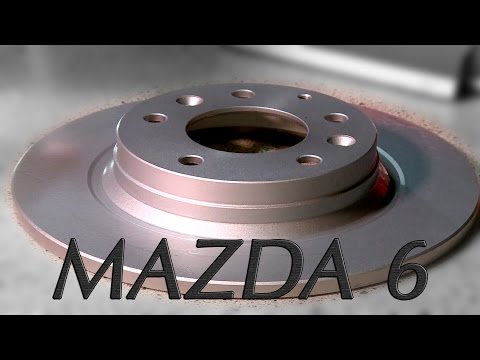
Mazda 6 fren diski nasıl sökülür?
Araç modeli: Mazda 6
MK 1, GG
- Yıllar 2002-2008
How to disassemble a brake disc of your car? Let's see in this video how to proceed. First, loosen all the wheel bolts, lift the car with a column bridge, finding the right height to work. Start by unscrewing the bolts to remove the car's wheel, then unscrew the small bolt to release the brake fluid, in order to relieve pressure on the caliper. Unscrew the bolts of the brake caliper from the support with a socket wrench. Before removing the brake caliper, let the remaining fluid drain out, hang it on a belt to prevent it from hanging. Remove the brake pads and then the caliper support, always with the help of a socket wrench. Unscrew the torx bolts on the front of the disc, lubricating them with a loosening fluid, use a hammer to facilitate disassembly. Remove the brake disc by hand, pulling it towards you. Clean all the dirt residues with brushes and lubricate all the bolts of the caliper support. Take the new brake disc, lubricate it in turn, insert it into the wheel hub bolts, then tighten all the torx bolts and continue the work by mounting the caliper support. We are almost done, insert the new brake pads into the support and mount the brake caliper. Top up the brake fluid in the top tank of the engine compartment and bleed the brake until the right pressure is reached. Lastly, mount the wheel with the respective bolts. Always check the brake pedal pressure.
Eklendi 14 December 2018 by ScegliAuto
Video öğretici
İlgili eğitimler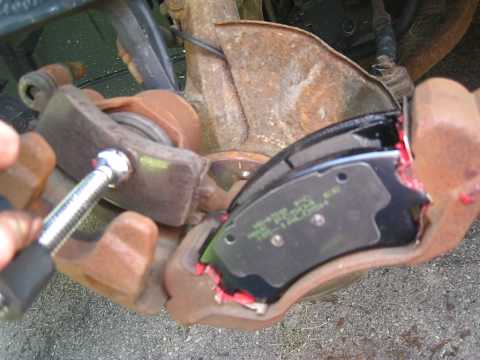
Mazda 6
(2002-2008 /
MK 1, GG)
Aracı özel araba krikosuyla kaldırın ve ön tekerleği sökün; ardından fren kaliperi desteğini tutan cıvataları sökerek diski çıkarmak için olanak sağl…
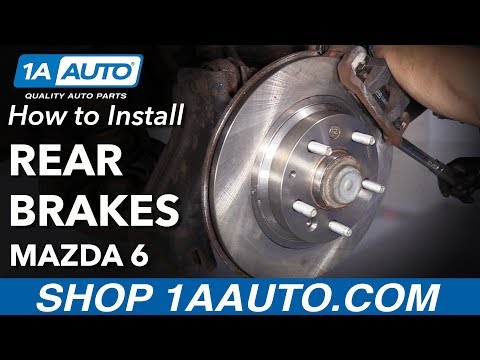
Mazda 6
(2008-2012 /
GH, MK 2)
Araç kaldırıldıktan ve arka tekerlekler söküldükten sonra, fren kaliperini destekten çıkarın, eski balataları çıkarın ve destek kendisini sökün; ardı…
Mazda 6
(2002-2008 /
MK 1, GG)
Bu videoda, fren diskini ve tüm ilgili parçaları nasıl sökeceğimizi görelim. Arabamızı bir kolon köprüsüne yerleştiriyoruz, teleskopik bir anahtarla …
İlginizi çekebilecek diğer rehberler
|
Ford C Max üzerindeki orijinal radyoyu nasıl sökerim?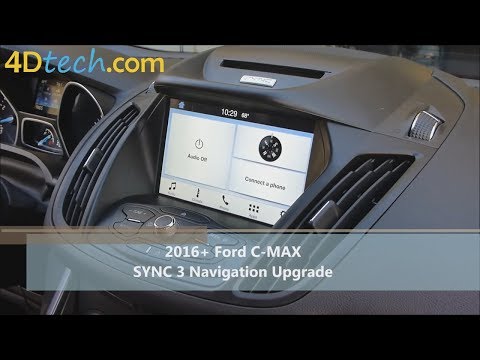
Ford C Max üzerindeki orijinal radyoyu nasıl sökeceğimizi görelim. İlk olarak, gösterge panelinin üst kaplamasını plastik bir kaldıraçla çıkaralım, ardından tornavida yardımıyla stereo üst tarafındaki metal klipslerdeki sıkma vidalarını sökelim. Şimdi, havalandırma deliklerini ve entegre çerçeveli çerçeveleri gövdeden çıkaralım, stereo yan sıkma vidalarını sökelim, aynı zamanda arka kısmında bulunan güç terminallerini ve anten alıcısının kablosunu çıkaralım, ardından radyoyu yerinden çıkaralım. Sökülen parçaları yeniden takmak için geriye doğru devam edelim. by ScegliAuto Daha fazla video
|
|
Bu sitede reklam için Yazın info@scegliauto.com
ScegliAuto, listelerde yer alan verilerin doğru olmama durumundan sorumlu değildir. Bir yanlışlık bildirmek veya ilgili faaliyetin sahibiyseniz lütfen şuraya yazın info@scegliauto.com
Sayfanın oluşturulması için geçen saniye sayısı: 0.018
(c) ScegliAuto 2026 - info@scegliauto.com - Gizlilik bildirimi KDV numarası: IT01247470535 |