
|
Do it yourself
| |||
| ||||


Model: Ducati Testastretta 749
In order to replace the timing belt of the Ducati Testastretta 749, you need to completely loosen the screws that secure the seat and then the screws that hold the casing on the right side of the motorcycle. Under this casing, you will be able to locate the belt: the tension of the belt must be reduced by unscrewing the central nut that secures the tensioner roller and removing the belt from the pulleys. Once the belt has been removed, you can insert the new replacement piece around the pulleys, covering everything with the casing.
Posted on 5 October 2023 by ScegliAuto
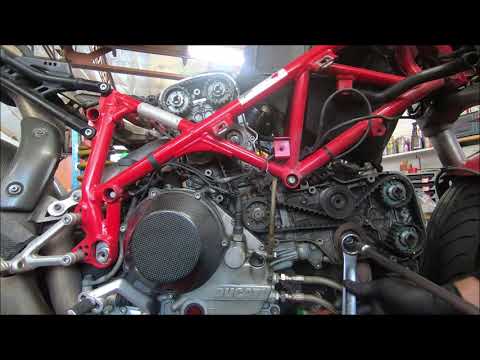 How do you replace the timing belt of the Ducati Testastretta 749?
Testastretta 749 In order to replace the timing belt of the Ducati Testastretta 749, you need to completely loosen the screws that secure the seat and then the screws 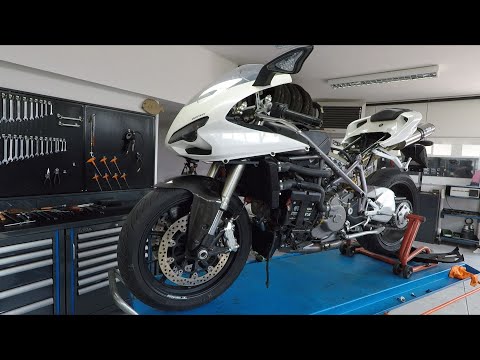 Guide to replacing the timing belt of the Ducati 848.
848 The timing belt needs to be replaced regularly to ensure proper engine functioning; let's see how to remove and replace the timing belt of the Ducati  Replacement of the air filter on Ducati 749 and 999
749 Replacing the air filter on Ducati 999 or 749 is extremely simple and now we will show you. Yes, because to open the filter box all you have to do is |
How do you replace the headlight bulb of the Triumph Daytona 675R?
In order to replace the headlight bulb of the Triumph Daytona 675R, you need to loosen the screws that secure the appropriate protective panels inside the bulbs: these will be immediately below the handlebars, on the sides of the front fork. Once these covering panels have been removed, it will be possible to disconnect the connector connected to the bulb, removing it from its housing; at this point, it will be possible to connect the new bulb to the connector, inserting it into the headlight and verifying that everything works correctly. by ScegliAuto More videos
|
|
For advertising on this site Write to info@scegliauto.com
ScegliAuto is not responsible for any inaccuracy of the data in the lists. To report any inaccuracy or your business (if you own the business in question), please write to info@scegliauto.com
Number of seconds to generate the page: 0.225
(c) ScegliAuto 2024 - info@scegliauto.com - Privacy Policy VAT number: IT01247470535 |