
|
Do it yourself
| |||
| ||||


Model: Kawasaki Eliminator 125
Before starting, it is advisable to place our Kawasaki Eliminator 125 in an upright position. So let's start by disassembling and removing the saddle, unscrewing and removing the fixing bolts. After that, we will have to disassemble and remove the instrumentation positioned on the tank, unscrewing the fixing screws. Once this is done, we will have to turn off the petrol tap, and then disconnect the petrol hose. At this point, we will have to unscrew and remove the bolts that secure the tank to the frame. When we have completed this last step, we will be able to remove the tank, and we will have finished the disassembly.
Posted on 30 January 2024 by ScegliAuto
 How to remove the tank of a Kawasaki Eliminator 125
Eliminator 125 Before starting, it is advisable to place our Kawasaki Eliminator 125 in an upright position. So let's start by disassembling and removing the saddle 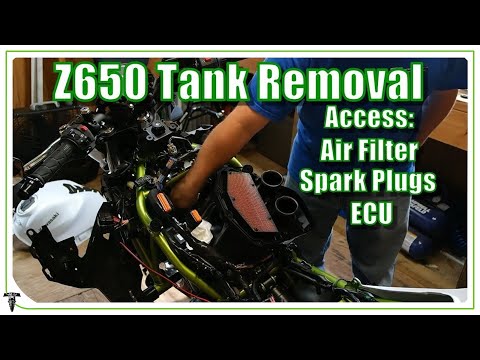 How do you remove the fuel tank of the Kawasaki Z650?
Z650 In order to remove the fuel tank of the Kawasaki Z650, you need to detach the side panels located on the sides of the tank. Once these panels are rem  How do you remove the fuel tank of the Kawasaki Versys 650?
Versys 650 In order to remove the tank of the Kawasaki Versys 650 it is necessary to loosen the screws that fix the side fairings of the front part of the bike, |
How do you replace the front headlight of the BMW G310 GS?
In order to replace the front headlight of the BMW G310 GS, you need to loosen the screws that secure the front fairing of the motorcycle to its housing: once the screws that secure the fairing are unscrewed, you will be able to locate the screws that secure the front headlight, which can then be removed from inside its housing by disconnecting the connectors at the back. Once the headlight unit has been removed, you can connect the new replacement part to its connectors, then insert it into its slot: you can secure it with screws and cover it all with the appropriate fairing. by ScegliAuto More videos
|
|
For advertising on this site Write to info@scegliauto.com
ScegliAuto is not responsible for any inaccuracy of the data in the lists. To report any inaccuracy or your business (if you own the business in question), please write to info@scegliauto.com
Number of seconds to generate the page: 0.219
(c) ScegliAuto 2024 - info@scegliauto.com - Privacy Policy VAT number: IT01247470535 |