
|
Do it yourself
| |||
| ||||


Model: Piaggio Typhoon 125
In this short and simple guide, let's see the instructions that will allow us to disassemble and replace the rear brake shoes of the Piaggio Typhoon 125 scooter. First of all, put our scooter on the central stand and start unscrewing the muffler silencer screws, so to remove it; then we unscrew the central nut of the wheel, removing it together with the drum, as shown in the video. At this point we remove the old shoes from the brake holder plate, releasing them from the spring; let's clean up the residual dirt and reassemble the whole braking system!
Posted on 22 November 2022 by ScegliAuto
 How to replace the rear brake shoes of the Piaggio Typhooon 125
Typhoon 125 In this short and simple guide, let's see the instructions that will allow us to disassemble and replace the rear brake shoes of the Piaggio Typhoon 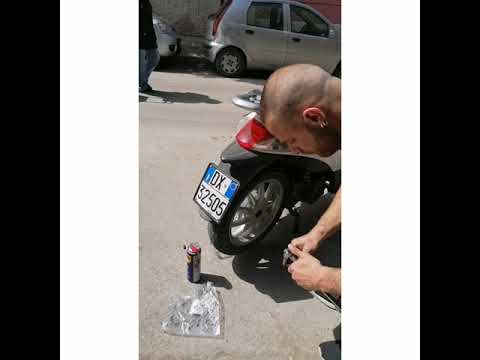 How to replace the rear brake shoes of the Piaggio Liberty 125
Liberty 125 Today we will see, in this video tutorial, how to disassemble and replace the rear brake shoes of the Piaggio Liberty 125 scooter. First of all we pu  How to replace the rear brake pads on Piaggio Vespa PX 125 - LML Star 125.
Star 125 In this guide, we will briefly see the instructions necessary to disassemble and replace the brake shoes on the rear brakes of the Piaggio Vespa PX 1 |
How to remove the stator of the Peugeot Speedfight 2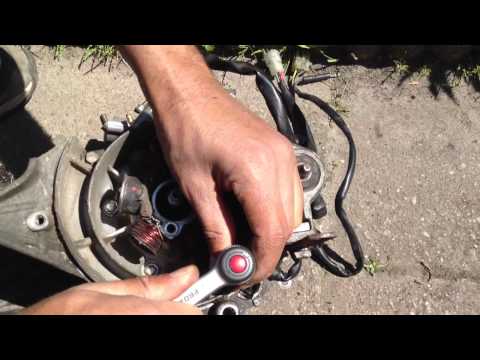
Today we will see, in this video tutorial, how to disassemble and replace the stator of the Peugeot Speedfight 2 scooter, following these simple steps. In this case, the disassembly operation is carried out with the engine removed from the bodywork; then, once the rotor has been removed, we can go and unscrew the fixing screws of the stator, in order to remove it from the engine casing together with the electrical wiring, as shown in the video. At this point we are going to replace the component with the new one, with the original spare part; we install the stator in the correct direction, finally adjusting the advance. by ScegliAuto More videos
|
|
For advertising on this site Write to info@scegliauto.com
ScegliAuto is not responsible for any inaccuracy of the data in the lists. To report any inaccuracy or your business (if you own the business in question), please write to info@scegliauto.com
Number of seconds to generate the page: 0.257
(c) ScegliAuto 2024 - info@scegliauto.com - Privacy Policy VAT number: IT01247470535 |