
|
Do it yourself
| |||
| ||||


Model: Suzuki Outboard
When the oil warning light turns on on a car, it is mandatory to carry out the appropriate checks before resetting the warning light. This obligation becomes even more pressing if instead of a car engine it is the outboard engine of a boat, because if we find ourselves in difficulty at sea, it will certainly be much more difficult to come and rescue us. So, after having carried out the required interventions, we see that the panel asks us to change the oil. We press the "enter" key, turn the key to switch off the engine and remove the key from its pin. Put the key back in the ignition and push the switch up and down three times, until you hear a long "beep". turn the engine off and on again. We press the "enter" key again and we will see that the oil change is no longer required.
Posted on 17 November 2022 by ScegliAuto
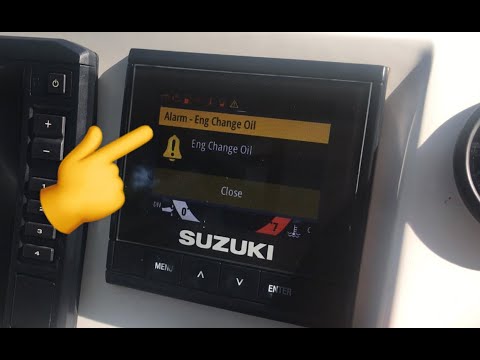 How to reset the oil light on a Suzuki Outboard engine
Outboard When the oil warning light turns on on a car, it is mandatory to carry out the appropriate checks before resetting the warning light. This obligation  How do you reset the oil light on the Suzuki Swift?
Suzuki Swift (2017-2024 / A2L, MK 6) When the engine oil warning light appears on the Suzuki Swift instrument panel, it is very likely that there is not enough oil in the respective rese 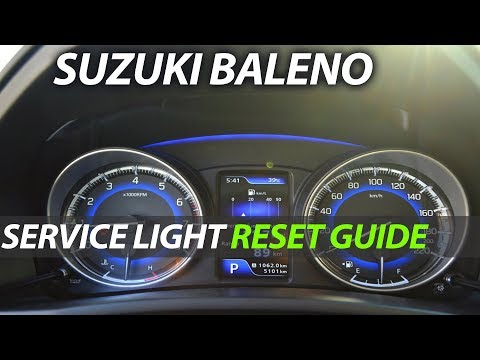 Suzuki Baleno service warning light reset
Suzuki Baleno (2015-2020 / MK 2) Let's find out in this short and simple guide how to reset the oil change routine maintenance light on Suzuki Baleno. First of all we get on board th |
How to remove the stator of the Peugeot Speedfight 2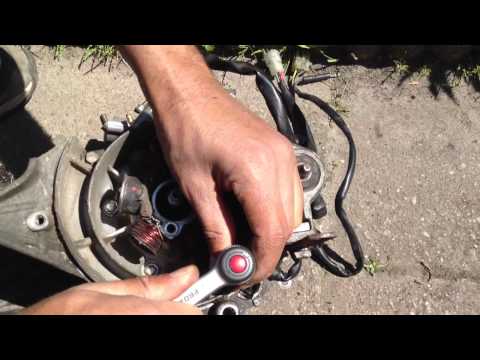
Today we will see, in this video tutorial, how to disassemble and replace the stator of the Peugeot Speedfight 2 scooter, following these simple steps. In this case, the disassembly operation is carried out with the engine removed from the bodywork; then, once the rotor has been removed, we can go and unscrew the fixing screws of the stator, in order to remove it from the engine casing together with the electrical wiring, as shown in the video. At this point we are going to replace the component with the new one, with the original spare part; we install the stator in the correct direction, finally adjusting the advance. by ScegliAuto More videos
|
|
For advertising on this site Write to info@scegliauto.com
ScegliAuto is not responsible for any inaccuracy of the data in the lists. To report any inaccuracy or your business (if you own the business in question), please write to info@scegliauto.com
Number of seconds to generate the page: 0.251
(c) ScegliAuto 2024 - info@scegliauto.com - Privacy Policy VAT number: IT01247470535 |