
|
Do it yourself
| |||
| ||||


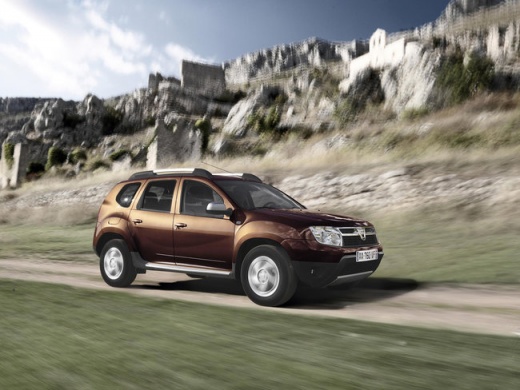
How to Remove the Front Headlights of a Dacia Duster
Model: Dacia Duster
MK 1, HS
- Years:
2010, 2011, 2012, 2013, 2014, 2015, 2016, 2017
Video tutorial
The video demonstrates the procedure for removing the left front headlight of the Dacia Duster. Start by unscrewing two Torx 20 screws at the bottom and shifting the bumper to the side, which is only clipped in at the top. There are four Torx 30 screws to remove above; then slightly lift the bumper and pull it forward to access the mounting points. Using a 10 mm socket, unscrew the two 10 mm screws securing the headlight, one at the bottom and one at the top, preferably using a magnetic extension to prevent dropping them. There is also a guide tab to move sideways to unlock the headlight, which can then be pulled forward. This procedure applies to both sides, but if both headlights need to be removed, it is advisable to completely remove the bumper: it is more practical, allows for better access, and reduces the risk of scratching the paint.
Posted on 27 October 2026 by ScegliAuto
Related tutorials
Dacia Duster
(2017-2024 /
MK 2, HM)
In this tutorial, you will see how to replace the headlight bulbs on a Dacia Duster, a very simple and quick operation. First, ensure that the igniti…

Dacia Duster
(2017-2024 /
MK 2, HM)
The following video tutorial shows us the steps to turn on or off the low beam and high beam lights of the Dacia Duster model 2. To turn on the low b…

Dacia Duster
(2017-2024 /
MK 2, HM)
In this tutorial, we can see how to disassemble the rear lights on the Dacia Duster, a very simple and quick operation. First of all, make sure that …
Other guides you may be interested in
|
How to Remove the Rear Hatch Cover of the Mercedes B-Class
In this video, you will learn how to remove the rear hatch cover of the Mercedes B-Class. You will need a small flathead screwdriver to remove the handle cover. Use long-nosed pliers to gently remove the clips inside. The next step is to carefully insert a plastic spatula into the gap created to start removing the cover; it is advisable to start from the sides and work towards the centre. Disconnect the courtesy light connector, and continue gently removing the plastics by leveraging the gaps created, always starting from the sides. Be cautious of clips and wiring, and handle everything with care. by ScegliAuto More videos
|
|
For advertising on this site Write to info@scegliauto.com
ScegliAuto is not responsible for any inaccuracy of the data in the lists. To report any inaccuracy or your business (if you own the business in question), please write to info@scegliauto.com
Number of seconds to generate the page: 0.073
(c) ScegliAuto 2026 - info@scegliauto.com - Privacy policy VAT number: IT01247470535 |
