
|
Do it yourself
| |||
| ||||



How to change the time format on the Suzuki Swift instrument panel
Model: Suzuki Swift
AZG, MK 5, Rs41
- Years:
2010, 2011, 2012, 2013, 2014, 2015, 2016, 2017
Video tutorial
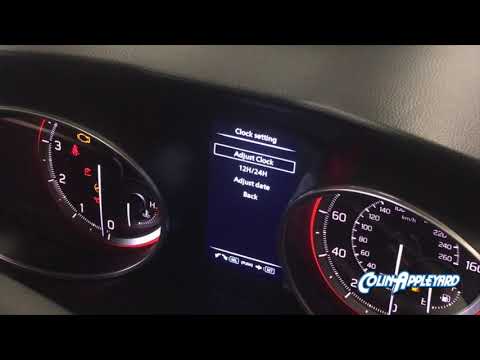
In this video, we will see how to change the time format on the Suzuki Swift clock: we may want to set it to 12-hour format, as used in the Anglo-Saxon countries, or to 24-hour format, like in the European Union. This car has an analog cluster, so we will need to use the button located on the right side of the tachometer, holding it down until we hear a sound indicating that we have selected the clock. Now press it again and then turn it to the right, selecting the desired format. Press the button again to confirm, then turn the button to the right again to exit this mode, and it's done.
Posted on 30 July 2025 by ScegliAuto
Related tutorials
Suzuki Swift
(2004-2010 /
MK 4, Rs41)
You can modify the clock of the Suzuki Swift by first turning on the instrument panel and then holding down both buttons on the sides of the panel. T…

Suzuki Swift
(2010-2017 /
AZG, MK 5, Rs41)
If you need to manually change the time on your Suzuki Swift, simply read the instructions in this mini guide carefully and follow them precisely. Fi…
Suzuki Swift
(2017-2024 /
MK 6, A2L)
In this short and simple guide, you will learn how to adjust and set the correct time on the Suzuki Swift. First, get inside the vehicle and turn on …
Other guides you may be interested in |
How to Replace the Glow Plugs in the Fiat Ducato 2.3 Multijet?
Glow plugs, as the name suggests, raise the temperature of the engine in diesel vehicles to allow for easier starting. The manufacturer, in this case, Fiat for the Ducato 2.3 Multijet, specifies how often they should be replaced, and a warning light will illuminate when it's time. This work is carried out under the bonnet. First, remove the upper engine cover, then lift the coil and, using a socket wrench of the appropriate size, unscrew the glow plug to remove it from the base, followed by installing the new one. by ScegliAuto More videos
|
|
For advertising on this site Write to info@scegliauto.com
ScegliAuto is not responsible for any inaccuracy of the data in the lists. To report any inaccuracy or your business (if you own the business in question), please write to info@scegliauto.com
Number of seconds to generate the page: 0.152
(c) ScegliAuto 2026 - info@scegliauto.com - Privacy policy VAT number: IT01247470535 |
