
|
Do it yourself
| |||
| ||||


What to Do If the Third Brake Light Makes Noise on Your Toyota Yaris
Model: Toyota Yaris
Xp130
- Years 2011-2019
Let’s see how to remedy a problem affecting some models of the Toyota Yaris. In fact, there are some models where - perhaps due to a defect in the assembly of the plastics (it seemed impossible, but it is a problem that could happen even to Toyota) - the cover of the tailgate and the block containing the third brake light vibrated, producing a noise that became annoying over time. The YouTuber had applied double-sided tape, which was not thick enough to solve the problem, so she had to add spacers over time, creating an unpleasant aesthetic effect, and still not fully resolving the issue, which was instead fixed with appropriately thick adhesive foam.
Posted on 7 February 2026 by ScegliAuto
Video tutorial
Related tutorials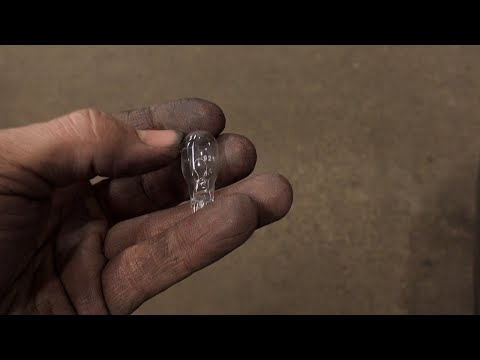
Toyota Yaris
(2005-2011 /
Xp90)
To replace the third brake light bulb on a Toyota Yaris, open the rear hatch to access the interior: here you will find the hole containing the conne…

Toyota Yaris
(2011-2019 /
Xp130)
Even the Toyota Yaris, in its most recent versions, is equipped with tire pressure monitoring sensors. They are installed in the tire and signal when…
Toyota Yaris
(1999-2005 /
Xp10)
In this video tutorial, see how to replace the brake pads on a Toyota Yaris. First, purchase new brake pads from an authorised dealer. Next, lift the…
Other guides you may be interested in |
How to Connect the Cables to the Battery of the Citroen Xsara Picasso?
In this tutorial, you will see how to connect the cables to the battery of the Citroen Xsara Picasso, useful if you need to recharge it or perform an emergency start. First, ensure the key is not inserted, then open the bonnet and move to the front of the left headlamp. Next, locate the bolt just behind the filter box and connect the positive terminal clamp to it. Now you can connect the negative terminal to any point on the chassis, such as the indicated point. Once the operation is complete, ensure you disconnect the negative first and then the positive. by ScegliAuto More videos
|

|
For advertising on this site Write to info@scegliauto.com
ScegliAuto is not responsible for any inaccuracy of the data in the lists. To report any inaccuracy or your business (if you own the business in question), please write to info@scegliauto.com
Number of seconds to generate the page: 1.162
(c) ScegliAuto 2026 - info@scegliauto.com - Privacy policy VAT number: IT01247470535 |
