
|
Fă-o singur
| |||
| ||||


Cum să înlocuiți brațul suspensiei.
Model: Mazda 6
GG, MK 1
- Ani 2002-2008
The first thing to do is remove the wheel: this will give you access to the double swing arm. Then unscrew the lower bolt of the double arm. Under the hood, there are 3 bolts that hold the arm to the upper part of the body, unscrew them partially to have some play in the structure. At this point, you need to unscrew the compression bolt, which is located at the top of the double arm: once this is free, it will be possible to remove the double arm from the arm structure, with the help of a hammer. Now you need to remove the stabilizer bolt of the anti-roll bar so that the double arm can be completely removed. Finish unscrewing the bolts under the hood and voilà! The entire suspension assembly is removed from the car body. To replace the arm, the suspension spring needs to be compressed so that the ends of the arm can be accessed: for this operation, a tool capable of compressing the important spring is needed. Then, the upper bolt of the arm can be unscrewed, separating the arm from the spring. Replace this component with a new arm, and repeat the process in reverse to reassemble the suspension in the car.
Introdus la 24 March 2015 by ScegliAuto
Acest videoclip nu este disponibil momentan
Tutoriale conexe
Mazda 6
(2012-2024 /
GJ, MK 3)
Cum se schimbă bateria telecomenzii cheie a mașinii noastre Mazda 6? Să vedem în acest videoclip cum se face. Luăm telecomanda noastră de pornire și …
Mazda 6
(2002-2008 /
GG, MK 1)
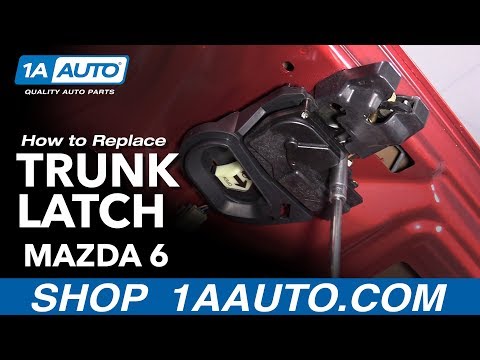
Bună, în acest videoclip vă vom arăta cum să schimbați mecanismul de închidere a portbagajului de pe Mazda 6 în cel mai simplu mod posibil. Pentru a …
Mazda 6
(2008-2012 /
GH, MK 2)
Doriți să înlocuiți un bec deteriorat pe Mazda 6? Operația nu este chiar foarte rapidă în unele aspecte. Să vedem în acest videoclip cum să procedăm.…
Alte ghiduri care te-ar putea interesa
|
Cum să verifici nivelul uleiului de motor al unei Volvo V40.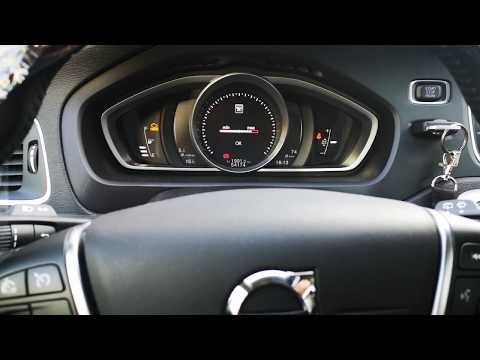
În acest videoclip vedem cum să verificăm nivelul de ulei al unei Volvo V40: de fapt, aceste vehicule nu au bățul de măsurare a nivelului, așa că nivelul trebuie verificat de pe tabloul de bord. Pornim apoi contactul și apăsăm butonul "ok" care se află pe maneta de semnalizare din stânga volanului. Lângă acesta găsim un buton rotativ cu care navigăm prin diferite opțiuni până când ajungem la desenul sticlei de ulei. Apăsând "ok", vedem nivelul de ulei. Amintim că procedura trebuie făcută absolut cu mașina în plan, toate ușile, capota, portbagajul închise și mașina oprită și oprită de cel puțin 5 minute. by ScegliAuto Alte videoclipuri
|
|
Pentru publicitatea pe acest site Scrie la info@scegliauto.com
ScegliAuto nu este responsabil pentru eventualele inexactități ale datelor din listă. Pentru a semnala o posibilă inexactitate sau activitatea dvs. (dacă sunteți titularul activității respective), vă rugăm să scrieți la info@scegliauto.com
Numărul de secunde necesare pentru generarea paginii: 0.044
(c) ScegliAuto 2026 - info@scegliauto.com - Politica de confidențialitate Cod TVA: IT01247470535 |
