
|
Do it yourself
| |||
| ||||


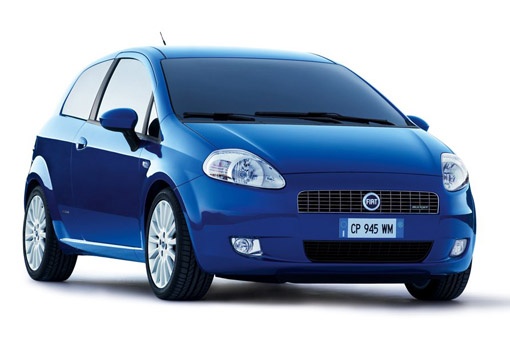
How to Replace the Bulb of a Fiat Punto
Model: Fiat Punto
199, MK 3, Grandepunto , Punto EVO
- Years:
2005, 2006, 2007, 2008, 2009, 2010, 2011, 2012, 2013, 2014, 2015, 2016
This video is currently unavailable
Open and lift the boot lid, and remove the screws located on the inner edge of the boot lid. This will unlock the first part of the headlamp. To fully extract it, apply a slight lever action outward to release the catch at the back of the headlamp. Now disconnect the connectors and remove the protective caps behind each bulb. This will give you access to the clip that holds the bulb in place. Apply pressure at the right point to extract the bulb. Reverse the steps for reassembly.
Updated on 23 February 2026 by ScegliAuto
Related tutorials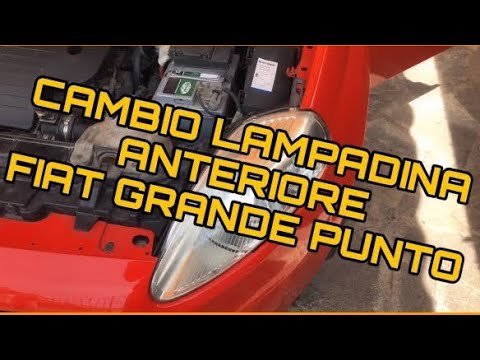
Fiat Punto
(2005-2018 /
199, MK 3, Grandepunto , Punto EVO)
Before you start, open the bonnet of your Fiat Punto. Begin by unfastening and removing the rear cover of the blown bulb. Once done, release the clip…

Fiat Punto
(2005-2018 /
199, MK 3, Grandepunto , Punto EVO)
To replace the front indicator bulb on a Fiat Punto, open the bonnet to access the circular cover inside the headlamp. Once the cover is removed, dis…

Fiat Punto
(2005-2018 /
199, MK 3, Grandepunto , Punto EVO)
To replace the front headlamp bulb on a Fiat Punto, access the rear of the headlamp by opening the bonnet and entering the engine compartment. Here, …
Other guides you may be interested in |
How to Replace the Glow Plugs in the Fiat Ducato 2.3 Multijet?
Glow plugs, as the name suggests, raise the temperature of the engine in diesel vehicles to allow for easier starting. The manufacturer, in this case, Fiat for the Ducato 2.3 Multijet, specifies how often they should be replaced, and a warning light will illuminate when it's time. This work is carried out under the bonnet. First, remove the upper engine cover, then lift the coil and, using a socket wrench of the appropriate size, unscrew the glow plug to remove it from the base, followed by installing the new one. by ScegliAuto More videos
|
|
For advertising on this site Write to info@scegliauto.com
ScegliAuto is not responsible for any inaccuracy of the data in the lists. To report any inaccuracy or your business (if you own the business in question), please write to info@scegliauto.com
Number of seconds to generate the page: 0.008
(c) ScegliAuto 2026 - info@scegliauto.com - Privacy policy VAT number: IT01247470535 |
