
|
Do it yourself
| |||
| ||||


Model: Honda Pcx 150
In order to install the rear trunk of the Honda PCX 150, you need to insert the appropriate support bracket into the corresponding housing, so that it can be fixed with the appropriate screws: once the bracket is correctly fixed, you can insert the corresponding washers in its rear part that will allow you to secure the trunk. This can in turn be inserted so that it is properly locked and then you can verify that it is securely in place; after installation, you can check that it does not cause any problems while driving.
Posted on 13 September 2025 by ScegliAuto
Video tutorial
Related tutorials
Pcx 150
Today's step-by-step instructions will show us how to disassemble and replace the rear wheel and tire of the Honda PCX 150. First, we put the scooter…

Pcx 150
In this tutorial we can see how to reset the service on the Honda PCX 150 scooter, an extremely simple and quick operation, to be carried out only on…
Pcx 150
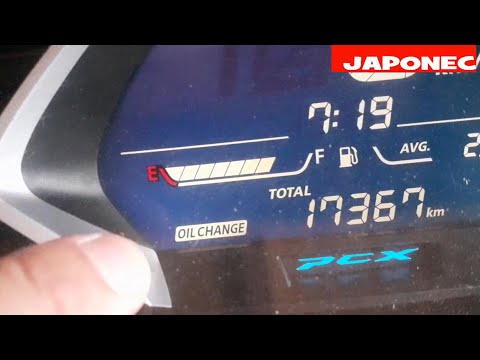
In this tutorial, you will see how to reset the oil service on the Honda PCX 150 scooter, a very simple and quick operation. Before proceeding, ensur…
|
How to Replace the Remote Battery in a Ducati
As shown in this tutorial, replacing the battery in the Ducati Monster 821 is an extremely simple and quick task. First, ensure the key is not inserted. Then locate the plastic cover at the bottom, just below the rear shock absorber, and remove it by unscrewing the respective side screws. If necessary, remove the seat to gain more working space. Once you have access to the battery, disconnect both terminals, support it through the indicated hole, and unscrew the lower fixing bolts. To fit the replacement, simply follow the reverse procedure. by ScegliAuto More videos
|
|
For advertising on this site Write to info@scegliauto.com
ScegliAuto is not responsible for any inaccuracy of the data in the lists. To report any inaccuracy or your business (if you own the business in question), please write to info@scegliauto.com
Number of seconds to generate the page: 0.112
(c) ScegliAuto 2026 - info@scegliauto.com - Privacy policy VAT number: IT01247470535 |
