
|
Do it yourself
| |||
| ||||


|
Model: Kawasaki Z1000 Sx
In this video, follow the step-by-step instructions to remove and replace the rear light on a Kawasaki Z1000 SX in simple steps. First, remove the seats from your motorcycle and unscrew the fixing screws of the rear fairing to take it off; then disconnect the electrical connector located underneath and unscrew the screws of the light, disconnecting the wires of the bulbs. At this point, proceed with the replacement of the light by reconnecting and refitting everything; watch the video until the end to fully understand the steps!
Updated on 18 April 2026 by ScegliAuto
Video tutorial
Related tutorials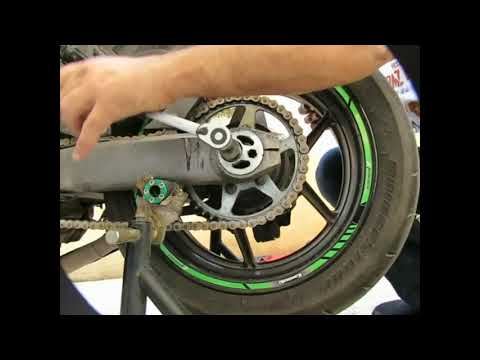
Z1000 Sx
To remove the rear wheel of the Kawasaki Z1000 SX, loosen the bolts located at the end of the swingarm, at the centre of the rear wheel. Once the bol…

Z1000 Sx
This video shows how to remove and replace the front brake fluid reservoir on a Kawasaki Z1000 SX in simple steps. First, obtain the correct new rese…

Z1000 Sx
In this tutorial we can see how to replace the front brake pads on the Kawasaki Z1000 SX, an extremely simple and fast operation. First of all, posit…
|
How to Replace and Install the Front Wheel on a Beta RR 300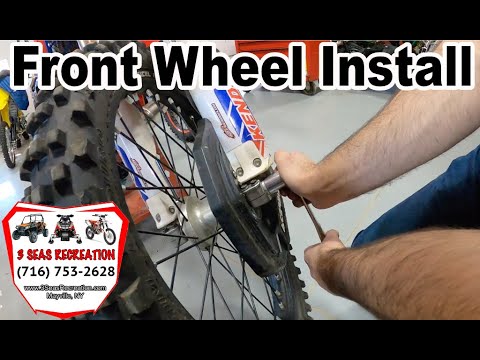
Today, we will go through the instructions to install or replace the front wheel on the Beta RR 300 enduro bike by following these simple steps. First, place your bike on a stand and lift the front wheel off the ground. Next, unscrew the fixing bolts of the front brake caliper to remove it. At this point, unscrew the central axle of the wheel, removing and possibly replacing the tyre. Then, tighten the fork nuts and reassemble everything by reversing the disassembly procedure! by ScegliAuto More videos
|
|
For advertising on this site Write to info@scegliauto.com
ScegliAuto is not responsible for any inaccuracy of the data in the lists. To report any inaccuracy or your business (if you own the business in question), please write to info@scegliauto.com
Number of seconds to generate the page: 0.007
(c) ScegliAuto 2026 - info@scegliauto.com - Privacy policy VAT number: IT01247470535 |
