
|
Do it yourself
| |||
| ||||


Model: Kymco Visar
Unscrew the screws securing the upper and front fairing, which contains the headlamp. Once removed, you can access the bulb from the rear: start by disconnecting the connector, then remove the round rear cover and lift the metal clip holding the LED bulb in place. At this point, remove the bulb and detach it from its base by simply pulling it out. Insert the new bulb, ensuring it is properly seated, and reassemble everything. Secure it with the appropriate metal clip, reattach the round rear cover, and finally reconnect the connector.
Updated on 2 April 2026 by ScegliAuto
Video tutorial
Related tutorials
Visar
To replace the air filter on the Kymco Visar, loosen the screws that secure the cover of the air filter box to its housing, located at the front of t…

Visar
Replacing the front brake pads on the Kymco Visar, as shown in this tutorial, is a very simple and quick operation. First, position yourself in front…

Visar
In order to disassemble the engine of the Kymco Visar, you need to loosen the screws that hold it in place, so that the frame can be freed: you also …
|
How to Replace the Horn on a Kawasaki Z800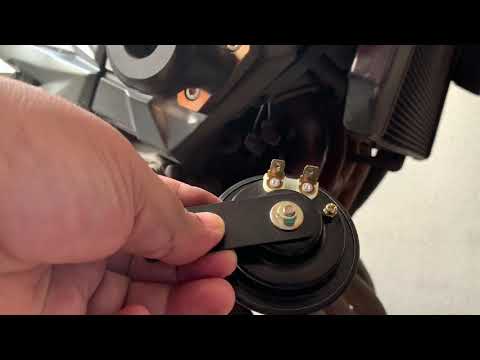
Follow the main steps to remove and replace the horn or acoustic warning device on the Kawasaki Z800 motorcycle. First, place the bike on a stand and start unscrewing the screws of the horn, located behind the radiator; then disconnect the electrical connector, as shown in the video. At this point, remove and replace the acoustic warning device with the new one, making the connection and checking its operation; then secure it to the bracket behind the cooling radiator, following the video tutorial until the end! by ScegliAuto More videos
|
|
For advertising on this site Write to info@scegliauto.com
ScegliAuto is not responsible for any inaccuracy of the data in the lists. To report any inaccuracy or your business (if you own the business in question), please write to info@scegliauto.com
Number of seconds to generate the page: 0.007
(c) ScegliAuto 2026 - info@scegliauto.com - Privacy policy VAT number: IT01247470535 |
