
|
Do it yourself
| |||
| ||||


How do you reset the Service light on the Mercedes Vito?
Model: Mercedes Vito
W639, MK 2
- Years 2003-2013
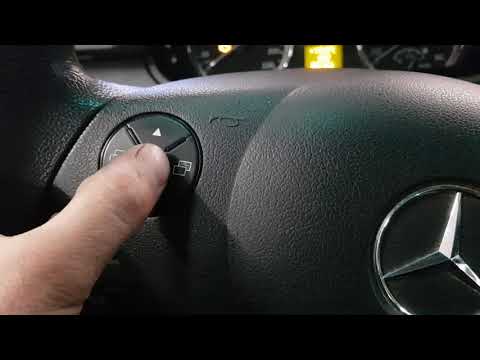
On the instrument panel of the Mercedes Vito, it will be possible to completely turn off the warning light by turning on the instrument panel, turning the key inside the ignition switch: at this point you will need to press the M button located on the left of the instrument panel, until the "Reset" message appears. Then you will need to press the O button located below the one previously pressed: in this way you can verify that the Service warning light will be reset when the confirmation message appears. At the end of the operation, you can reset the panel to complete the process.
Posted on 22 February 2025 by ScegliAuto
Video tutorial
Related tutorials
Mercedes Vito
(2014-2024 /
MK 3, W447)
To reset the Service light that appears on the Mercedes Vito, you will need to turn on the instrument panel so that you can navigate through the menu…
Mercedes Vito
(2003-2013 /
W639, MK 2)
The Service indicator of the Mercedes Vito can be reset by turning on the instrument panel, turning the ignition key inside the corresponding ignitio…

Mercedes Vito
(2003-2013 /
W639, MK 2)
The Service light that appears on the instrument panel of the Mercedes Vito can be reset by turning on the instrument panel and inserting the key int…
Other guides you may be interested in
|
Frequently Asked QuestionsHow to reset the tyre pressure warning light on a Hyundai Tucson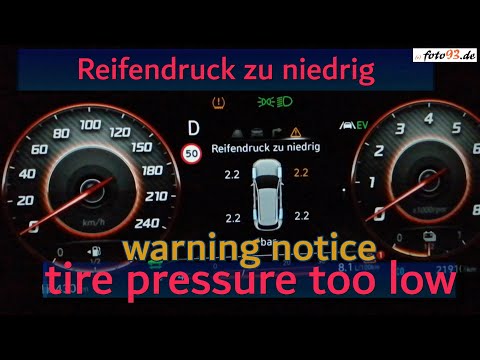
Below are the instructions to reset the tyre pressure warning light (TPMS) on a Hyundai Tucson. First, get into the vehicle and turn on the instrument cluster; then navigate to the vehicle settings until you reach the tyre pressure monitor, identifying the tyre with incorrect pressure. At this point, restore all tyre pressures according to the specifications indicated on the label; this will reset the TPMS and the warning light will be cleared from the instrument cluster! by ScegliAuto More videos
|
|
For advertising on this site Write to info@scegliauto.com
ScegliAuto is not responsible for any inaccuracy of the data in the lists. To report any inaccuracy or your business (if you own the business in question), please write to info@scegliauto.com
Number of seconds to generate the page: 0.270
(c) ScegliAuto 2026 - info@scegliauto.com - Privacy policy VAT number: IT01247470535 |
