
|
Do it yourself
| |||
| ||||


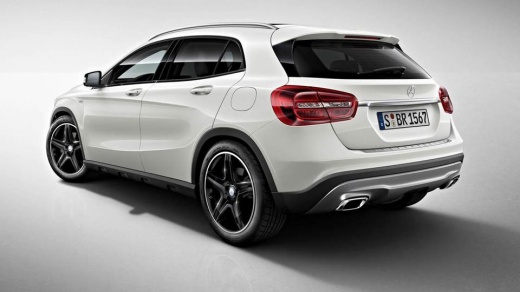
How to Reset the Tyre Pressure Warning Light on a Mercedes GLA W156
Model: Mercedes Gla
MK 1, W156
- Years 2013-2019
This video demonstrates how to reset the tyre pressure monitoring light on the Mercedes GLA version W156, with the display between the dials. Turn on the ignition, and using the directional arrows on the steering wheel (left/right), navigate through the menu. Go to the "service" screen (with a spanner icon) and select tyre pressure check. You will be asked "start now?" Confirm with "ok" and then follow the instructions given by the display. Normally, GLA models of this version have an indirect system, working with wheel sensors on the ABS, detecting rotation differences. If the light does not reset, it means the pressure is uneven, and you will need to check all the tyres.
Posted on 1 August 2026 by ScegliAuto
Video tutorial
Related tutorials
Mercedes Gla
(2013-2019 /
MK 1, W156)
To reset the tyre pressure light on a Mercedes GLA, you need to turn on the instrument panel, navigating through the options that appear on the displ…

Mercedes Gla
(2013-2019 /
MK 1, W156)
This guide shows how to reset the tyre pressure light on the Mercedes Benz GLA. The first step is to stop the vehicle on a flat surface. With the ins…

Mercedes Gla
(2013-2019 /
MK 1, W156)
To completely remove the tire pressure warning light from the instrument panel of the Mercedes GLA, you will need to inflate the tires to the recomme…
Other guides you may be interested in
|
How to Replace the External Wing Mirror on a Ford C MAX
In the event of a breakage, it will be necessary to replace the external wing mirror on the 2011 Ford C MAX. This operation is easily performed independently. Start by removing the internal cover of the mirror with a plastic lever. Then, use a socket wrench to remove the securing pins. Once the pins are removed, you can take off the mirror, but not before disconnecting the power connectors. Then proceed to fit the new mirror. First, connect the connectors and then secure the mirror to its housing with the pins. Refit the plastic cover and test the operation of the electric mirror using the controls. by ScegliAuto More videos
|
|
For advertising on this site Write to info@scegliauto.com
ScegliAuto is not responsible for any inaccuracy of the data in the lists. To report any inaccuracy or your business (if you own the business in question), please write to info@scegliauto.com
Number of seconds to generate the page: 0.066
(c) ScegliAuto 2026 - info@scegliauto.com - Privacy policy VAT number: IT01247470535 |
