
|
Do it yourself
| |||
| ||||


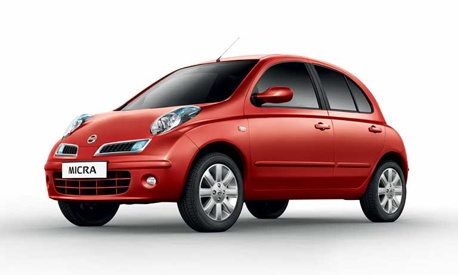
How to Remove the Car Radio from a Nissan Micra
Model: Nissan Micra
K12
- Years:
2002, 2003, 2004, 2005, 2006, 2007, 2008, 2009, 2010
Video tutorial
Good morning everyone, today I will explain how to remove the car radio from your Nissan Micra. With a bit of effort and care, you can successfully complete this simple task. To extract the radio, you need to unscrew the two screws located at the bottom of the radio vertically; the others are at the top. To find them, simply remove the pressure-mounted cover using the specific tool for this type of operation. Once the cover and the two screws are removed, there is only one screw left under the dashboard cover panel. You do not need to completely remove the dashboard cover; just unclip the part that concerns us. As mentioned earlier, it is clipped in, so use the appropriate tool mentioned before. At this point, just pull out the radio, and the job is done.
Updated on 12 March 2026 by ScegliAuto
Related tutorials
Nissan Micra
(2002-2010 /
K12)
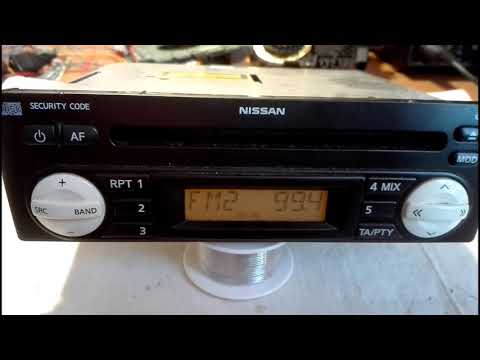
In this video, you will learn how to remove the radio from a Nissan Micra. The removal process does not require special technical knowledge, so let’s…
Nissan Micra
(2002-2010 /
K12)
Below are the instructions that will allow you to retrieve and enter the radio code for the Nissan Micra. First, remove your car radio to retrieve th…

Nissan Micra
(2002-2010 /
K12)
In this short guide, we will see the instructions that will allow us to unlock the Nissan Micra's car radio, in simple and quick steps. First of all,…
Other guides you may be interested in |
How to Replace the Glow Plugs in the Fiat Ducato 2.3 Multijet?
Glow plugs, as the name suggests, raise the temperature of the engine in diesel vehicles to allow for easier starting. The manufacturer, in this case, Fiat for the Ducato 2.3 Multijet, specifies how often they should be replaced, and a warning light will illuminate when it's time. This work is carried out under the bonnet. First, remove the upper engine cover, then lift the coil and, using a socket wrench of the appropriate size, unscrew the glow plug to remove it from the base, followed by installing the new one. by ScegliAuto More videos
|
|
For advertising on this site Write to info@scegliauto.com
ScegliAuto is not responsible for any inaccuracy of the data in the lists. To report any inaccuracy or your business (if you own the business in question), please write to info@scegliauto.com
Number of seconds to generate the page: 0.016
(c) ScegliAuto 2026 - info@scegliauto.com - Privacy policy VAT number: IT01247470535 |
