
|
Do it yourself
| |||
| ||||


How to remove the gearshift gaiter on Smart Fortwo (w453)
Model: Smart Smart
453
- Years 2014-2022
Disassembling the gearshift gaiter on the Smart is a somewhat cumbersome operation as it is incorporated into the central tunnel. First you will need to remove the gear knob, this will be fixed to the lever by means of two small screws hidden at the base of the same by the rubber cover of the lever and which, once unscrewed, will allow the removal of the knob itself. This operation will allow easier disassembly of the panel placed on the upper part of the central tunnel, this will be fixed by interlocking with plastic hooks placed along the junction line of the same and it will be sufficient to pry between the two surfaces to release it. After disassembling the panel, you will have access to the circular plastic support that holds the rubber protection of the lever in place. Once the plastic support has been removed, it will be possible to extract the rubber protection of the lever which can be replaced with a new one or with an aftermarket boot model.
Posted on 9 September 2020 by ScegliAuto
Video tutorial
Related tutorials
Smart
(2007-2015 /
451)
In today's video tutorial we will see how to remove and replace the clutch of the Smart Fortwo 451, following the instructions below. First we open t…
Smart
(2004-2006 /
Fourfour1, 454)
Before we can begin, we will have to go and open the doors of our Smart ForTwo. So let's start by unscrewing and removing the screws that secure the …
Smart
(2004-2006 /
Fourfour1, 454)
Let's start by removing the front top cover of our Smart ForTwo, using the ignition key, and then removing the plastic underneath. After that, we wil…
Other guides you may be interested in |
How to Remove the DPF on a Citroen C4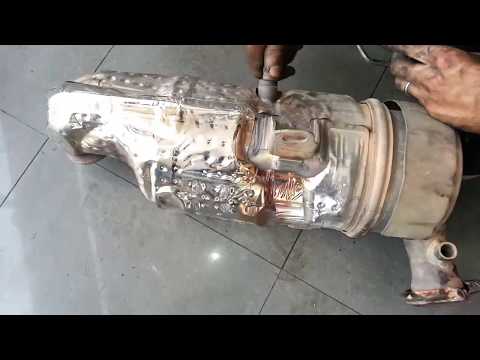
Watch this video on how to remove the DPF from a Citroen C4. Lift the engine bonnet and secure it, then use a spanner to unscrew the locking bolt of the DPF sensor, and remove the securing pins. Once the part is removed from its location, use a screwdriver to disconnect the various wiring and pipes connected to the DPF. Remove the various components of the DPF and clean them with a suitable mechanical parts cleaning product. Once the part has been refurbished, assemble the pieces together. Finally, refit the DPF in the engine compartment, along with all the pins and associated parts. by ScegliAuto More videos
|

|
For advertising on this site Write to info@scegliauto.com
ScegliAuto is not responsible for any inaccuracy of the data in the lists. To report any inaccuracy or your business (if you own the business in question), please write to info@scegliauto.com
Number of seconds to generate the page: 0.067
(c) ScegliAuto 2026 - info@scegliauto.com - Privacy policy VAT number: IT01247470535 |