
|
Do it yourself
| |||
| ||||


How to Repair the Mirror of a Smart Fortwo
Model: Smart Smart
451
- Years 2007-2015
When the wing mirrors of the Smart Fortwo "wobble", it means a retaining clip has come loose inside. This is a challenging task but can be done: the mirror must be completely disassembled, and the video shows step by step how to do it, including how to remove the mirror glass (a very delicate operation) until you have the damaged part in hand that needs repairing. Take the opportunity to repaint the mirror shell to make it look nicer. But let's return to our part to repair: You need to re-flatten the toothed washer until it is level again so that the teeth can fit back into the groove. We will deepen the groove by half a millimetre. To reinsert the washer into the groove, a bench vice is essential; only then will the mirror regain its functionality. Reassemble all components following the detailed description in the video: naturally, you will have taken the opportunity to clean all components thoroughly, making them practically new. If you now manually test the mirror, you will notice it no longer wobbles and makes a nice click when opening. You can refit the mirror onto the vehicle.
Updated on 22 May 2026 by ScegliAuto
Video tutorial
Related tutorials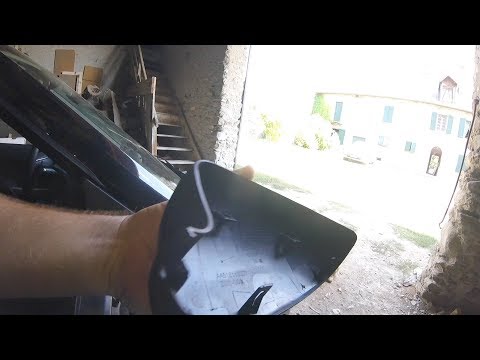
Smart
(2007-2015 /
451)
Is the mirror damaged? The mirror is mounted inside a mirror unit on a Smart Fortwo? Here’s how to remove it from above the mirror. Use a plastic lev…
Smart
(1998-2007 /
450)
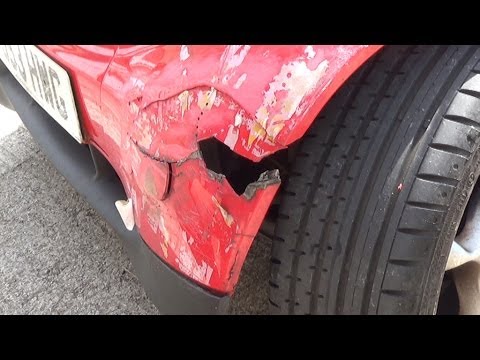
This guide outlines important steps to repair the damaged bodywork and bumpers of the Smart Fortwo, following the instructions below. First, remove a…

Smart
(2007-2015 /
451)
Today's instructions will show us how to disassemble and replace the external rearview mirror of the Smart Fortwo. First, we open the front door and …
Other guides you may be interested in |
How to Connect the Cables to the Battery of the Citroen Xsara Picasso?
In this tutorial, you will see how to connect the cables to the battery of the Citroen Xsara Picasso, useful if you need to recharge it or perform an emergency start. First, ensure the key is not inserted, then open the bonnet and move to the front of the left headlamp. Next, locate the bolt just behind the filter box and connect the positive terminal clamp to it. Now you can connect the negative terminal to any point on the chassis, such as the indicated point. Once the operation is complete, ensure you disconnect the negative first and then the positive. by ScegliAuto More videos
|
|
For advertising on this site Write to info@scegliauto.com
ScegliAuto is not responsible for any inaccuracy of the data in the lists. To report any inaccuracy or your business (if you own the business in question), please write to info@scegliauto.com
Number of seconds to generate the page: 0.371
(c) ScegliAuto 2026 - info@scegliauto.com - Privacy policy VAT number: IT01247470535 |
