
|
Do it yourself
| |||
| ||||


How to replace the cabin filter of a Tesla Model 3
Model: Tesla Model 3
MK 1
- Years 2017-2024
This operation requires working near a high-voltage orange cable that powers the air conditioning compressor, so it is advisable to completely deactivate the electrical system before starting by going to the touchscreen and selecting controls/safety/off. We wait / minutes and open the rear hatch; we remove the mat and empty the trunk. We disassemble the side panels that are held by clips. On the passenger side, we unclip the fastening clips of the upper panel that covers the filter area. Under this panel, we see the cabin filter, and very close to it is the large orange cable that we must not touch for any reason. Under the filter, there are fastening screws to unscrew, and once the cover is removed, we will find two adjacent slots containing the old filters; we remove them and clean the compartment that held them before inserting the new and clean ones. We put the cover back in place, reassemble the upper panel, reposition the carpet panels, and put the mat back in place. We reactivate the battery and turn on the air conditioning to check that everything is in order.
Posted on 17 January 2026 by ScegliAuto
Video tutorial
Related tutorials
Tesla Model 3
(2017-2024 /
MK 1)
In this tutorial, we will see how to replace the cabin filter in the Tesla Model 3, a very simple and quick operation. First, let's go to the passeng…
Tesla Model 3
(2017-2024 /
MK 1)
In this video tutorial we can see how it is possible to replace the cabin filter on a Tesla Model 3, following some simple steps: the first thing to …

Tesla Model 3
(2017-2024 /
MK 1)
To reset the tire pressure warning light of the Tesla Model 3, first you will need to inflate the tires until they reach the optimal pressure value: …
Other guides you may be interested in
|
How to Remove the Headlight Bulb on a Honda Civic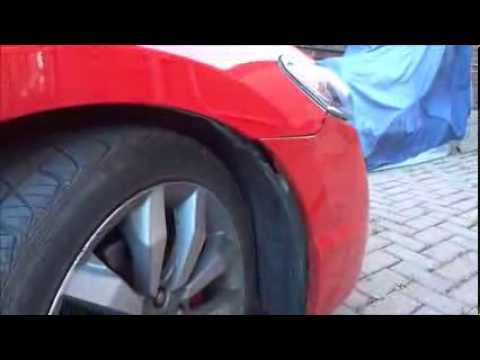
Are the front headlight bulbs on your Honda Civic faulty? Follow this instructional video for the disassembly process. Open the bonnet of the engine compartment, remove the inspection caps from the headlights using a screwdriver, detach the bulb holders from the headlight, and disconnect the respective power connectors. Replace the damaged bulbs with new ones of the same size and voltage. After replacing the bulbs, reinstall the bulb holder in the headlight housing. Finally, close the rear of the headlights with the inspection caps. Test the lights to ensure they are functioning correctly. by ScegliAuto More videos
|

|
For advertising on this site Write to info@scegliauto.com
ScegliAuto is not responsible for any inaccuracy of the data in the lists. To report any inaccuracy or your business (if you own the business in question), please write to info@scegliauto.com
Number of seconds to generate the page: 0.067
(c) ScegliAuto 2026 - info@scegliauto.com - Privacy policy VAT number: IT01247470535 |