
|
Do it yourself
| |||
| ||||



How to Keep the Air Conditioning Fresh and Smelling Good in the Toyota Prius C Aqua
Model: Toyota Prius C Aqua
MK 1
- Years:
2011, 2012, 2013, 2014, 2015, 2016, 2017, 2018, 2019, 2020, 2021
Video tutorial
Even if you have regularly changed the cabin filter in your vehicle, you may still notice a bad odor when you turn on the air conditioning, especially the first few times after winter. This video helps eliminate it in your Toyota Prius C Aqua. The product for this operation is available in a kit on Amazon called Everclean Moose UD24 TA-6510, costing just under $25 at the current exchange rate with the yen. To perform this operation, remove the glove compartment, which is pressure-fitted and not difficult to remove. By taking off a small portion of upholstery, you can access the air conditioning drain. Pull it out. From the kit, take the sponge and the drain tube. Insert the sponge and the flexible tube into the drain pipe. Once everything is in, apply the aerosol can. Press the can, which will clean the drain tube. Remove the can after it has fully discharged. Dispose of it in a suitable container for about 15 minutes. Now you can put the drain back in place and reassemble the glove compartment. The job is done, and your air conditioning will be fresh and smelling good.
Updated on 31 May 2026 by ScegliAuto
Related tutorials
Toyota Prius C Aqua
(2011-2021 /
MK 1)
The cabin air filter should be replaced approximately once a year or every 15,000 miles, whether it is for a Toyota Prius C Aqua or any other car. Th…
Toyota Prius C Aqua
(2011-2021 /
MK 1)
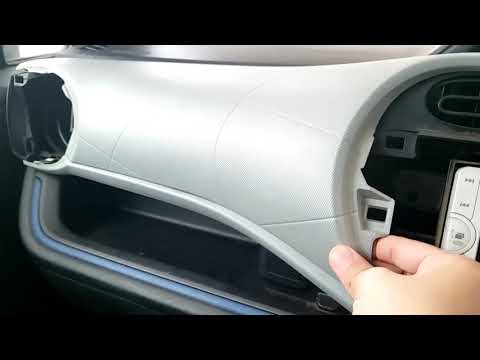
Here are the main instructions for removing and replacing the central plastic cover of the dashboard on a Toyota Prius C Aqua. First, get inside the …

Toyota Prius C Aqua
(2011-2021 /
MK 1)
Today, we will see in this video tutorial how to remove and replace the front parking light bulb on the Toyota Prius C Aqua. First, open the hood and…
Other guides you may be interested in
|
Fuses Placement and Diagram for the Mercedes Vito
Check the diagram and placement of the fuse boxes for the Mercedes Vito by following the instructions below. First, open the bonnet and locate the external fuse box; you will find it by removing the plastic cover situated at the top of the engine compartment, as shown in the video. At this point, find another fuse box in the cabin, specifically under the driver's seat; use the owner's manual to find the fuse diagram and replace any faulty fuse with a new one that has the same amperage rating. by ScegliAuto More videos
|
|
For advertising on this site Write to info@scegliauto.com
ScegliAuto is not responsible for any inaccuracy of the data in the lists. To report any inaccuracy or your business (if you own the business in question), please write to info@scegliauto.com
Number of seconds to generate the page: 0.017
(c) ScegliAuto 2026 - info@scegliauto.com - Privacy policy VAT number: IT01247470535 |
