
|
Do it yourself
| |||
| ||||


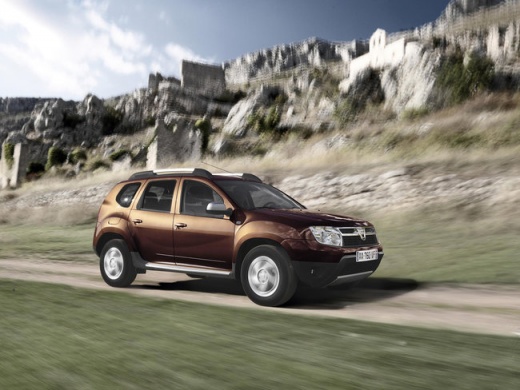
How to Replace the Right Front Light Bulb on a Dacia Duster
Model: Dacia Duster
MK 1, HS
- Years:
2010, 2011, 2012, 2013, 2014, 2015, 2016, 2017
Video tutorial
To replace the front light bulb on the Dacia Duster 2.0, follow the five steps outlined in our video guide. The first step is to open the front bonnet of the vehicle. The second step is to remove the light cover to extract the bulb; simply pull it outwards. The third step is to disconnect the connector and remove the bulb. The fourth step is to insert a new bulb and connect it to the connector. The fifth step is to close the light cover and lower the front bonnet.
Updated on 8 October 2026 by ScegliAuto
Related tutorials
Dacia Duster
(2017-2024 /
HM, MK 2)
Replacing the front headlight bulb of a Dacia Duster model 2 can be done independently. Start by opening the front bonnet and removing the cover of t…

Dacia Duster
(2010-2017 /
MK 1, HS)
In this guide for Dacia Duster owners, you will discover the steps to safely and correctly replace the front headlamp bulb. First, completely switch …

Dacia Duster
(2010-2017 /
MK 1, HS)
If one of the front headlamps of your first series Dacia Duster has a faulty bulb and you want to replace it with a new one, simply read the followin…
Other guides you may be interested in |
How to Set the Time in an Audi A4?
In this tutorial, you will see how to set the time in an Audi A4, a very simple and quick operation to perform after replacing the battery or when the time changes. First, insert the key and turn on the instrument cluster. Then, press the "SETUP" button located on the center console. Next, press the upper left arrow button, navigate to the "Time" option, and use the central knob to adjust the clock. Finally, set any necessary formats and save by returning to the main screen. by ScegliAuto More videos
|
For advertising on this site Write to info@scegliauto.com
ScegliAuto is not responsible for any inaccuracy of the data in the lists. To report any inaccuracy or your business (if you own the business in question), please write to info@scegliauto.com
Number of seconds to generate the page: 0.021
(c) ScegliAuto 2026 - info@scegliauto.com - Privacy policy VAT number: IT01247470535 |
