
|
Do it yourself
| |||
| ||||


|
Model: Gilera Saturno 350
This guide describes how to replace the engine oil and oil filter on a Gilera Saturno 350. Obtain 3 litres of Castrol Power 1 Racing 10W40 oil and an FFP005 oil filter. Position the motorcycle on the centre stand. Start the engine, allow it to reach temperature, and then switch off. Place a container for used oil disposal under the engine. Use a 19 mm spanner to remove the oil drain plug located at the bottom of the engine on the left side. Allow the oil to drain and clean the plug thoroughly. Use an oil filter wrench to remove the oil filter located at the bottom of the engine on the right side. Lubricate the gasket with a bit of oil and screw it on by hand, then tighten it a turn with the oil filter wrench. Refit the oil drain plug. Open the oil filler cap located on the right side of the crankcase. Pour in 2.5 litres of oil. Start the engine for one minute and switch off. Check the level through the inspection hole.
Updated on 9 March 2026 by ScegliAuto
Video tutorial
Related tutorials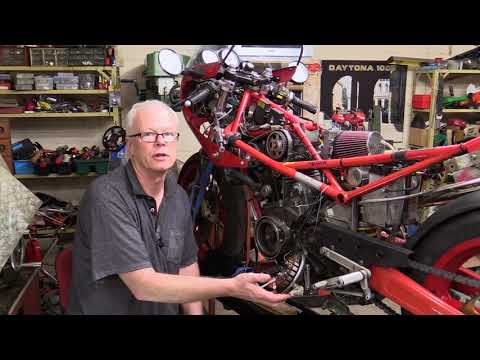
Saturno 350
To replace the water pump on a Gilera Saturno 350, loosen the screws securing the left side of the engine block to gain access to the underlying comp…

Saturno 350
In order to replace the rear shock absorber of the Gilera Saturno 350, you need to locate the component at the rear of the vehicle, in the area betwe…

Saturno 350
In today's video, we will show you how to remove and replace the front brake pads on the Gilera Saturno 350 in simple and quick steps. First, remove …
|
Replacing the Rear Light on a Harley Davidson Street Glide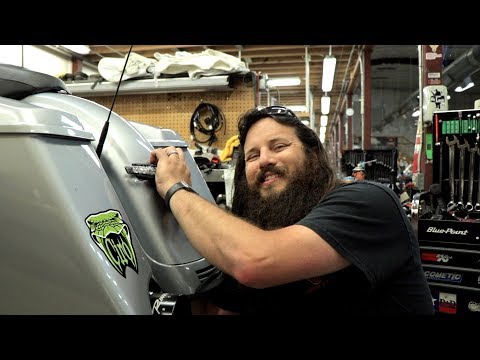
In today's tutorial video, we will see how to remove and replace the rear light on a Harley Davidson Street Glide in simple and quick steps. First, place your bike on a stand and move to the rear; then use a socket and spanner to unscrew and remove the nuts found inside the wheel arch, at the height of the rear light, as shown in the video. At this point, disconnect the electrical connector to remove and replace the light with the new one; then reassemble everything, applying the reverse procedure! by ScegliAuto More videos
|
|
For advertising on this site Write to info@scegliauto.com
ScegliAuto is not responsible for any inaccuracy of the data in the lists. To report any inaccuracy or your business (if you own the business in question), please write to info@scegliauto.com
Number of seconds to generate the page: 0.007
(c) ScegliAuto 2026 - info@scegliauto.com - Privacy policy VAT number: IT01247470535 |
