
|
Do it yourself
| |||
| ||||


|
Model: Harley Davidson Road Glide
To replace the battery on a Harley Davidson Road Glide, loosen the screws securing the saddlebags on the sides of the bike so they can be removed. After removing the bags, unscrew the bolts holding the seat, detaching it from the top of the bike: underneath, you will find the battery, which needs to be freed from its securing screws and disconnected from the appropriate cables. This will allow you to insert the new replacement part, securing and connecting it properly, then cover everything with the seat.
Updated on 22 July 2026 by ScegliAuto
Video tutorial
Related tutorials
Road Glide
In this tutorial, see how to set the time on a Harley-Davidson Road Glide, a very simple and quick operation, for example, after disconnecting the ba…

Road Glide
In this tutorial, we will see how to adjust the time on the Harley-Davidson Road Glide, a very simple and quick operation to perform, for example, af…

Road Glide
To replace the battery on a Harley Davidson Road Glide, loosen the screws securing the seat to its housing. Once these screws are loosened, you can c…
|
How to Replace the Rear Indicator Bulb on the Sym Mio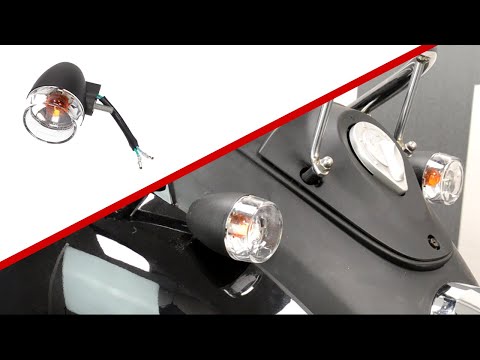
To replace the rear indicator bulb on the Sym Mio, you need to loosen the screws that secure the rear fairing of the motorcycle: to do this, you will also need to open the under-seat compartment and loosen the screws that secure the fairing from the inside. Once it is released, you can completely detach it and disconnect the connector attached to the corresponding bulb. The bulb can now be extracted from its housing, allowing you to insert the new one: this way, you can reassemble all the removed parts to ensure everything works correctly. by ScegliAuto More videos
|
|
For advertising on this site Write to info@scegliauto.com
ScegliAuto is not responsible for any inaccuracy of the data in the lists. To report any inaccuracy or your business (if you own the business in question), please write to info@scegliauto.com
Number of seconds to generate the page: 0.010
(c) ScegliAuto 2026 - info@scegliauto.com - Privacy policy VAT number: IT01247470535 |
