
|
Do it yourself
| |||
| ||||


Guide on How to Install Wheel Chocks
Model: Honda Civic
MK 7
- Years:
2001, 2002, 2003, 2004, 2005, 2006
Video tutorial
This guide shows that the following operation is very easy to perform; just work calmly and store the removed materials carefully. The operation mainly involves removing the nuts from the wheel first, and this should be done with the wheel still mounted for safety and to activate the wheel chocks. Be careful during this operation to use an appropriate tool, a pin, that will not damage either the wishbone or the rim. Each nut must be tightened and secured by rotating it to about 80 lb.
Updated on 9 February 2026 by ScegliAuto
Related tutorials
Honda Civic
(2006-2012 /
MK 8)
The following guide shows how to install car mudflaps. The installation takes a relatively short time, about 24 minutes, and is easily achievable by …

Honda Civic
(2001-2006 /
MK 7)
This guide shows how anyone can replace their car wheel. There are precautions you can take to avoid this problem, or at least reduce the risk, such …

Honda Civic
(2001-2006 /
MK 7)
Here are step-by-step instructions to remove and replace the front wheel bearing on the Honda Civic. First, raise the vehicle and remove the front wh…
ScegliAuto offers an extensive international collection of automotive tutorials available in 12 languages. Each guide combines instructional videos with original explanations written by experienced human editors, along with information about the car models covered.
Other guides you may be interested in |
Resetting the Service Light on the Mitsubishi Canter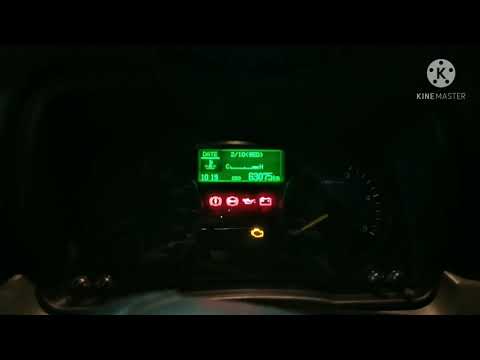
When it is necessary to change the engine oil of the Mitsubishi Canter, a warning on the dashboard alerts us to this requirement. Once this maintenance task is completed, you must reset the control system. Sit in the driver's seat and turn on the instrument panel. Without starting the engine, press and hold the accelerator pedal for twenty seconds. After this time interval, while still holding the accelerator pedal, pump the brake pedal six times. Once done, the warning on the instrument panel will turn off, confirming the reset. by ScegliAuto More videos
|
|
For advertising on this site Write to info@scegliauto.com
ScegliAuto is not responsible for any inaccuracy of the data in the lists. To report any inaccuracy or your business (if you own the business in question), please write to info@scegliauto.com
Number of seconds to generate the page: 0.019
(c) ScegliAuto 2026 - info@scegliauto.com - Privacy policy - About us VAT number: IT01247470535 |
