
|
Do it yourself
| |||
| ||||



Moose Test Results on the 2015 Hyundai i30
Model: Hyundai I30
GD, MK 2
- Years:
2011, 2012, 2013, 2014, 2015, 2016
Video tutorial
In this video from Teknikens Värld (a Swedish car magazine known for its strict impartiality, which gained worldwide fame in 1997 with the moose test of the Mercedes A-Class), the Hyundai i30 demonstrated a stability described as 'fair', but with some roll (lateral oscillation) and a tendency to understeer in extreme conditions. It meets safety standards, but was not among the best in its category at the time (for example, the Volkswagen Golf and Mazda3 performed better). Certainly, the tyres fitted to the test vehicle played a significant role in the result; higher quality tyres definitely improve stability. It should also be noted that this version of the Hyundai i30 had a suspension setup more oriented towards comfort than stability.
Posted on 6 February 2026 by ScegliAuto
Related tutorials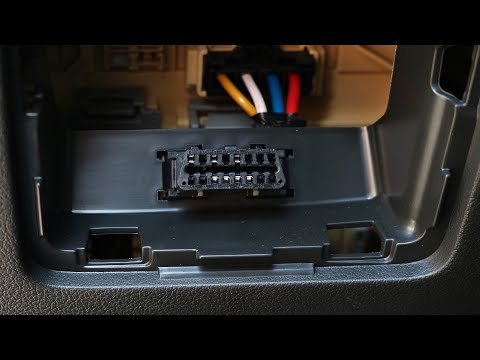
Hyundai I30
(2016-2024 /
MK 3, PD)
If you own a 2021 Hyundai i30 and want to find the OBD port to connect a professional diagnostic tool, read the following instructions carefully and …

Hyundai I30
(2016-2024 /
MK 3, PD)
Replacing the engine air filter in your latest Hyundai i30 is very simple, and by following the steps in this guide, you can complete the task in jus…

Hyundai I30
(2011-2016 /
GD, MK 2)
Today, we will explain where the OBD or diagnostic port is installed on Hyundai i30 vehicles. The diagnostic port is used in the workshop or even ind…
Other guides you may be interested in |
How to Replace the Glow Plugs in the Fiat Ducato 2.3 Multijet?
Glow plugs, as the name suggests, raise the temperature of the engine in diesel vehicles to allow for easier starting. The manufacturer, in this case, Fiat for the Ducato 2.3 Multijet, specifies how often they should be replaced, and a warning light will illuminate when it's time. This work is carried out under the bonnet. First, remove the upper engine cover, then lift the coil and, using a socket wrench of the appropriate size, unscrew the glow plug to remove it from the base, followed by installing the new one. by ScegliAuto More videos
|
|
For advertising on this site Write to info@scegliauto.com
ScegliAuto is not responsible for any inaccuracy of the data in the lists. To report any inaccuracy or your business (if you own the business in question), please write to info@scegliauto.com
Number of seconds to generate the page: 0.009
(c) ScegliAuto 2026 - info@scegliauto.com - Privacy policy VAT number: IT01247470535 |
