
|
Do it yourself
| |||
| ||||


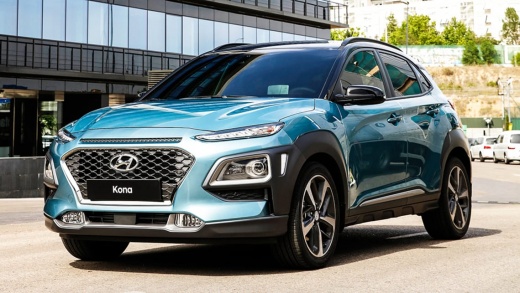
How to Reset the Service Interval on a Hyundai Kona
Model: Hyundai Kona
MK 1
- Years:
2017, 2018, 2019, 2020, 2021, 2022, 2023
Video tutorial
In this video, we will see how to reset the service interval on a Hyundai Kona: first, press the "menu" button located on the right control panel, and scroll down to the service interval display, which includes the gear icon at the top of the menu. Use the arrow to scroll down the menu until you highlight the "service interval" option and then press "OK" twice to insert a checkmark. By pressing the lower button on the control panel, adjust the interval as preferred; 20,000 should be fine, then press OK to confirm. If you do not want the maintenance intervals to be active, return to the settings, press "OK" and the checkmark will disappear.
Updated on 1 October 2026 by ScegliAuto
Related tutorials
Hyundai Kona
(2017-2023 /
MK 1)
In this brief video guide, we will see how to reset the service light on a 2020 Hyundai Kona, first-generation model produced from 2017 to 2020. Star…

Hyundai Kona
(2017-2023 /
MK 1)
To complete the manual reset of the service light on your Hyundai Kona (2023 model), you need to follow the procedure described below. First, get in …

Hyundai Kona
(2023-2026 /
MK 2)
Let's see how to reset the oil light on the Hyundai Kona Hybrid 2023: turn on the vehicle in ON mode without starting the engine, press the "menu" bu…
Other guides you may be interested in |
Frequently Asked QuestionsHow to replace the handbrake button on the Opel Mokka?
The handbrake button on the Opel Mokka can be replaced without going to a mechanic. The installation system is snap-fit with plastic clips and does not require special tools. First, remove the old button, possibly using a flat screwdriver to pry it off. Next, check for any fragments and remove them using tweezers if necessary. At this point, install the new button by placing it in its seat and applying light pressure to snap the clips into place. by ScegliAuto More videos
|
|
For advertising on this site Write to info@scegliauto.com
ScegliAuto is not responsible for any inaccuracy of the data in the lists. To report any inaccuracy or your business (if you own the business in question), please write to info@scegliauto.com
Number of seconds to generate the page: 0.009
(c) ScegliAuto 2026 - info@scegliauto.com - Privacy policy VAT number: IT01247470535 |
