
|
Do it yourself
| |||
| ||||


How to Reset the Tyre Pressure Message on Jeep Renegade
Model: Jeep Renegade
520, MK 1, BU
- Years 2014-2026
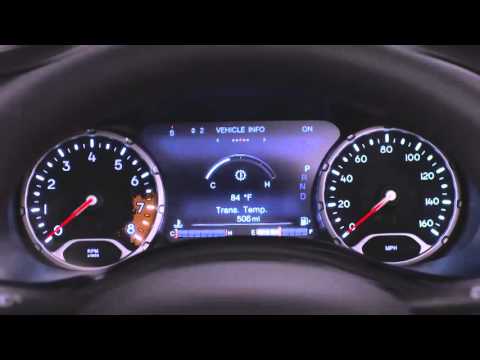
To reset the "check tyre pressure" message on the Jeep Renegade, enter the vehicle, close all doors, and turn on the ignition while keeping the engine off. You will notice that, in addition to the message on the central display, the tyre warning light also illuminates at the bottom left. Before proceeding with the reset, ensure that the current tyre pressures are correct. At this point, use the controls on the left side of the steering wheel to navigate through the menu, scrolling with the up and down buttons to explore the various options until you see the "Vehicle Info" menu: then use the right arrow button to select this option, and again use the up and down buttons to scroll through the submenu until the page related to tyre pressures appears. Now use the central OK button to perform the reset. Exit all menus by pressing the left arrow button multiple times. Turn off and then restart the instrument panel.
Updated on 27 July 2026 by ScegliAuto
Video tutorial
Related tutorials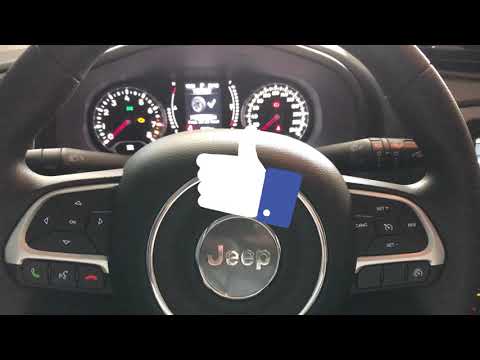
Jeep Renegade
(2014-2021 /
)
Resetting the low tyre pressure warning light in the Jeep Renegade is very simple; let's see how to proceed in the attached video tutorial. This proc…
Jeep Renegade
(2014-2026 /
520, MK 1, BU)
This guide shows how to turn off the warning light indicating a problem with the tyre pressure on the Jeep Renegade. First, turn on the ignition. Usi…

Jeep Renegade
(2014-2024 /
)
On the Jeep Renegade, resetting the TPMS is done after adjusting the pressures according to the chart on the door pillar. With the Jeep Renegade stat…
Other guides you may be interested in
|
Frequently Asked QuestionsHow to Set the Clock on the Opel Zafira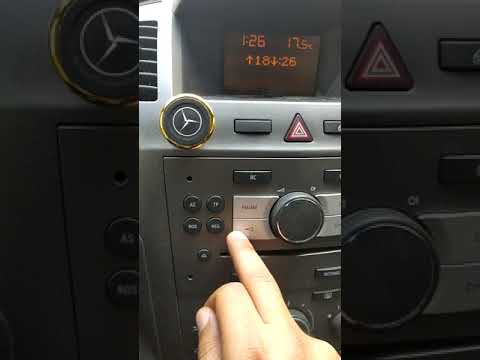
Setting the clock to the current Italian time on an Opel Zafira model B is a very simple operation, also made easier by our short instructional video. The first step is to turn on the instrument panel and then press the SETTING button located on the central dashboard. Once inside the menu, use the buttons to navigate to the clock setting. Adjust the hours and minutes and restart the instrument panel. If the clock does not update, it may be necessary to diagnose the radio or the vehicle's control unit. by ScegliAuto More videos
|

|
For advertising on this site Write to info@scegliauto.com
ScegliAuto is not responsible for any inaccuracy of the data in the lists. To report any inaccuracy or your business (if you own the business in question), please write to info@scegliauto.com
Number of seconds to generate the page: 0.680
(c) ScegliAuto 2026 - info@scegliauto.com - Privacy policy VAT number: IT01247470535 |
