
|
Do it yourself
| |||
| ||||



How to turn off the low tyre pressure warning light on a Kia Rio III
Model: Kia Rio
UB, MK 3
- Years:
2011, 2012, 2013, 2014, 2015, 2016, 2017
Video tutorial
To turn off the low tyre pressure warning light on a Kia (Rio, Picanto, etc.), the procedure is simple. When the light comes on the dashboard, the first thing to do is check the wheels and the pressure of each tyre. If the pressure is low, inflate it to the correct value (indicated on the label in the driver's side door jamb). Once the tyres are inflated to the correct pressure, just drive normally: the TPMS sensors will detect and register the new correct values, and the light will turn off by itself after about 5-15 minutes of driving. There is no need to press buttons or perform manual resets: the system updates automatically. If the light remains on after inflating and driving for the indicated time, there may be a slow leak or a faulty sensor, and in that case, it is advisable to have the system checked.
Posted on 25 September 2026 by ScegliAuto
Related tutorials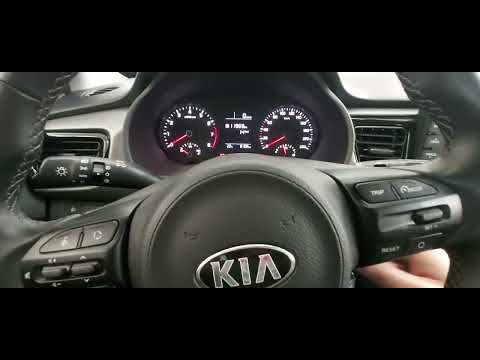
Kia Rio
(2016-2023 /
MK 4, SC, YB)
To reset the tyre pressure and turn off the tyre warning light on a Kia Rio, switch on the ignition without starting the engine. In the video, the li…

Kia Rio
(2016-2023 /
MK 4, SC, YB)
To reset the tyre pressure warning light on a Kia Rio, inflate the tyres to the recommended pressure value: these values are listed on the sticker at…
Kia Rio
(2016-2023 /
MK 4, SC, YB)
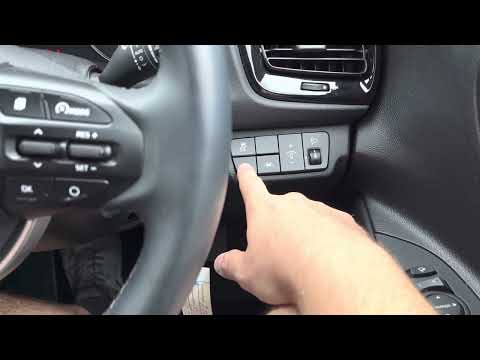
In this guide, learn how to reset the tyre pressure warning light on the Kia Rio. Before performing the reset operation, ensure that all four tyres a…
Other guides you may be interested in
|
How to Replace the Glow Plugs in the Fiat Ducato 2.3 Multijet?
Glow plugs, as the name suggests, raise the temperature of the engine in diesel vehicles to allow for easier starting. The manufacturer, in this case, Fiat for the Ducato 2.3 Multijet, specifies how often they should be replaced, and a warning light will illuminate when it's time. This work is carried out under the bonnet. First, remove the upper engine cover, then lift the coil and, using a socket wrench of the appropriate size, unscrew the glow plug to remove it from the base, followed by installing the new one. by ScegliAuto More videos
|
|
For advertising on this site Write to info@scegliauto.com
ScegliAuto is not responsible for any inaccuracy of the data in the lists. To report any inaccuracy or your business (if you own the business in question), please write to info@scegliauto.com
Number of seconds to generate the page: 0.024
(c) ScegliAuto 2026 - info@scegliauto.com - Privacy policy VAT number: IT01247470535 |
